Devised in 1909, the pH scale measures the concentration of hydrogen ions in a solution. The scale ranges from 0-14. Pure water is “neutral” and has a pH of 7, midway between 0 and 14. If a solution has a low concentration of hydrogen ions, the rating will be a higher number and is considered basic or alkaline. Likewise, a high concentration of hydrogen ions rates a lower number and is considered acidic.
What pH Means to Your Garden
There are four important reasons to monitor your soil’s pH level:
- pH affects the availability of other nutrients in the soil. If the nutrients are not available because they are chemically bound to something else, plants can’t use that nutrient.
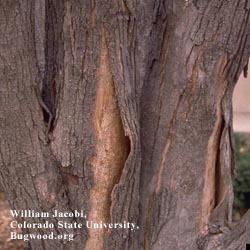
- A high or low pH level in the soil allows some plant diseases to multiply more quickly, infecting an entire landscape or garden.
- Most organisms living in the soil have pH preferences. For example, earthworms are not as plentiful in acidic soil.
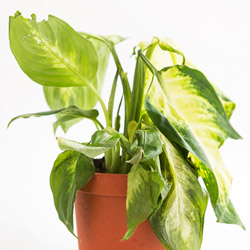
- Most plants have specific pH requirements to flourish. Those specific requirements are what the plants need to absorb nutrients more efficiently and resist pests more effectively.
Where Soil pH Occurs
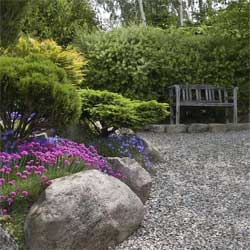
Acidic soil generally occurs in heavy rainfall areas, as the rain will pull acidic compounds from the air and allow them to leach into the soil. Alkaline soil, then, is more common where there is less rain. However, this is just a generalization and neighbors across the street from each other may have a large pH difference. Reasons could include the origin of topsoil brought in, the tillage done in the area and prior occupants’ gardening habits. Even simple changes like how drain spouts are positioned or a watering schedule can impact pH.
The pH Your Plants Need
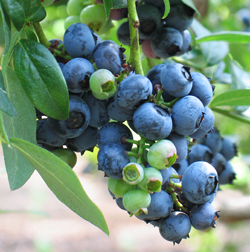
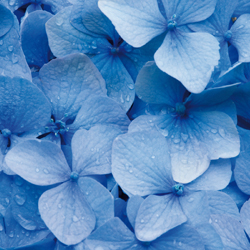
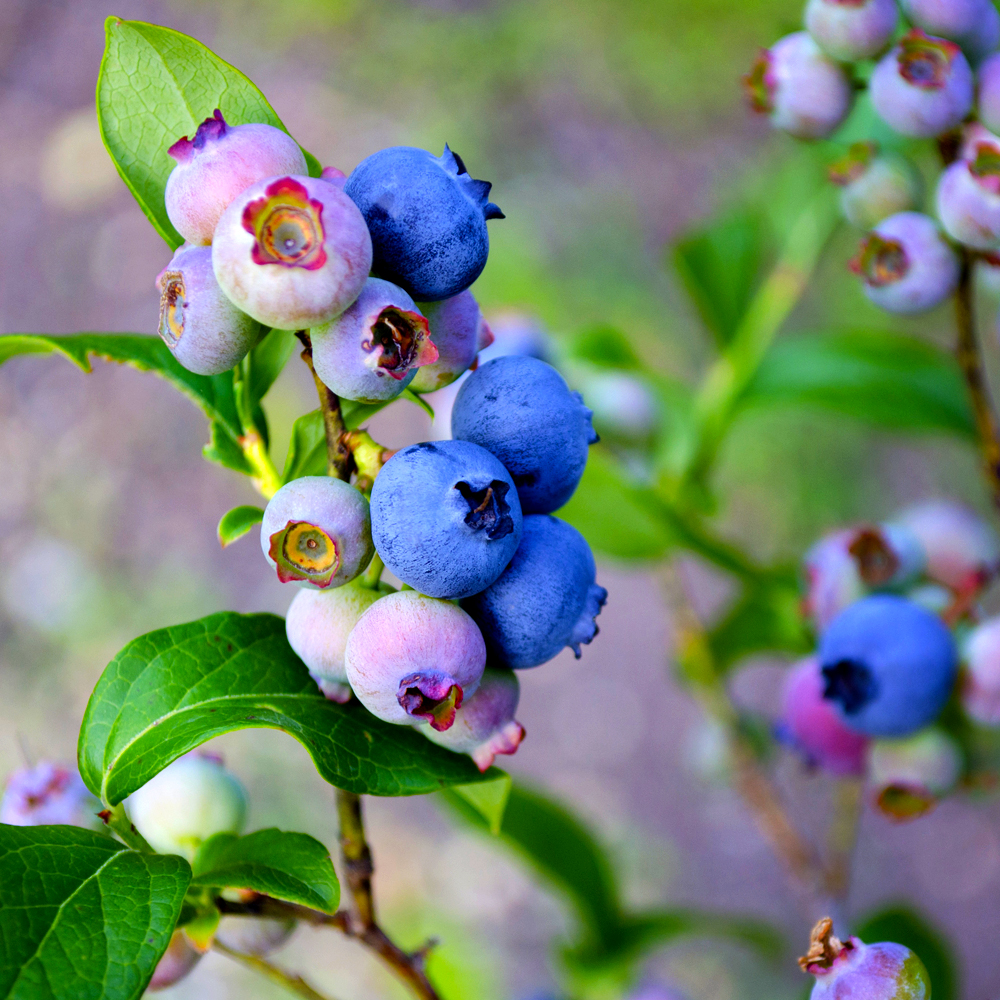
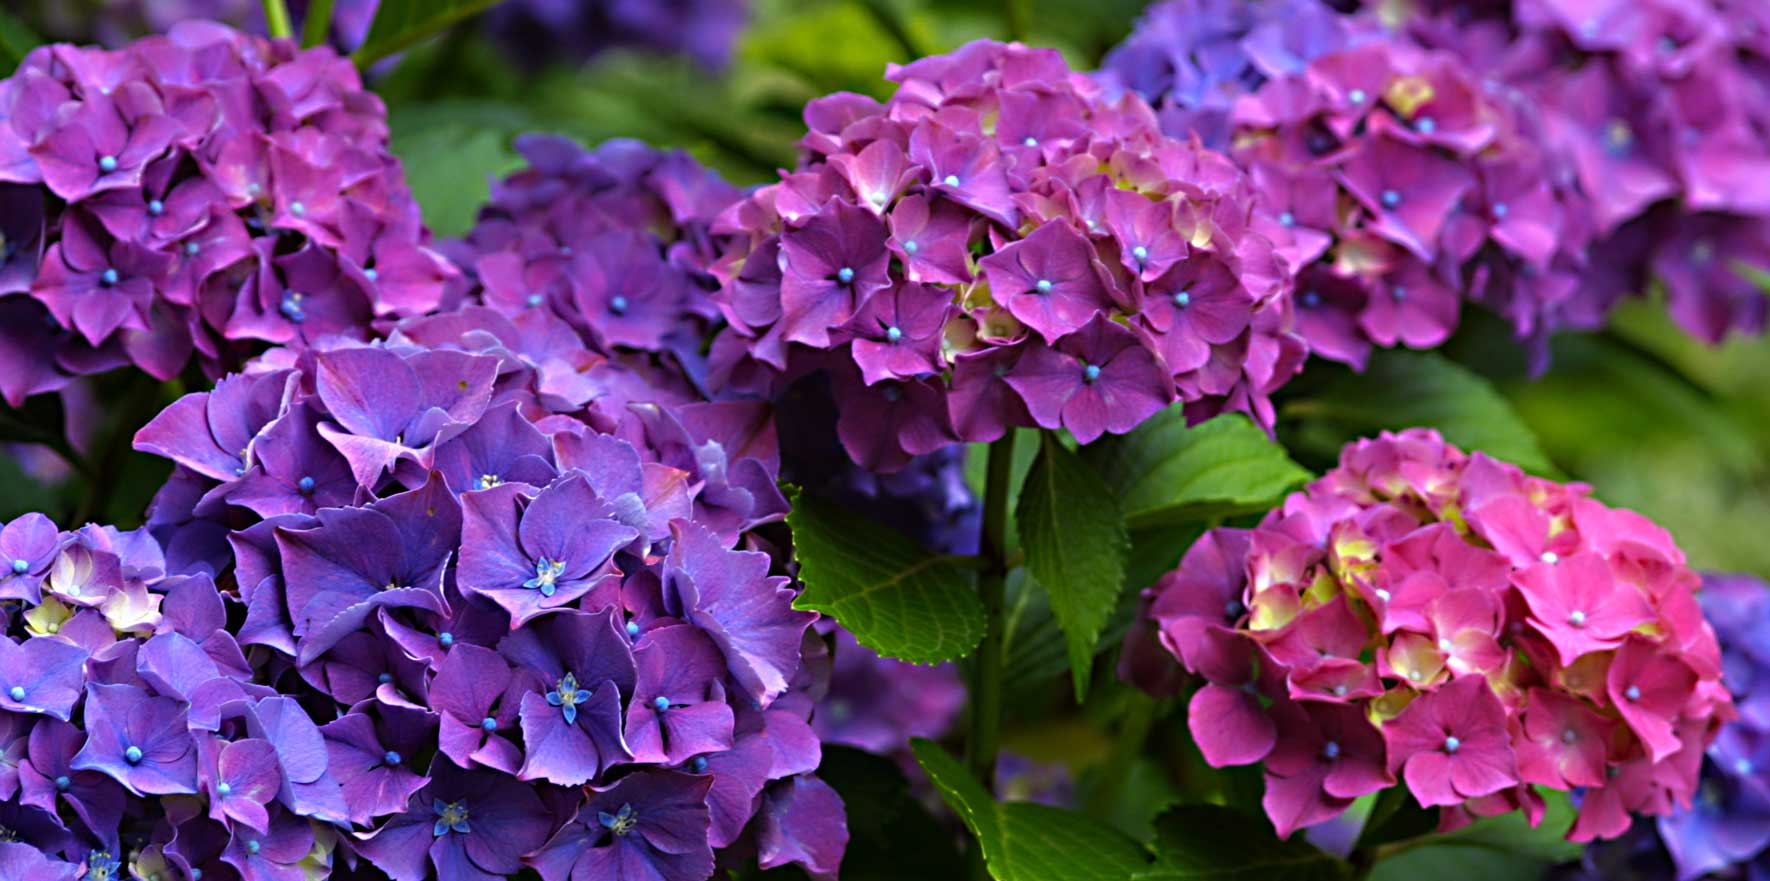
Most plants will grow well in the neutral zone of 6.5-7.0. However, some plants grow best in specific soil pH conditions. Interestingly, hydrangeas grow well in both slightly acidic and slightly alkaline soils, but the flowers will be blue in acidic soil or pink in alkaline soil. The colors and flavors of fruits and vegetables may also vary somewhat depending on the soil’s pH, even if the plant will thrive in a wider range.
This chart illustrates how slight pH changes can dramatically impact which plants will thrive in certain soils…
|
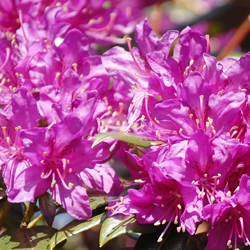
Highly Acidic Conditions (pH between 5 and 6) |
Slightly Acidic Conditions (pH between 6 and 6.5) |
Slightly Alkaline Conditions (pH between 7 and 7.5) |
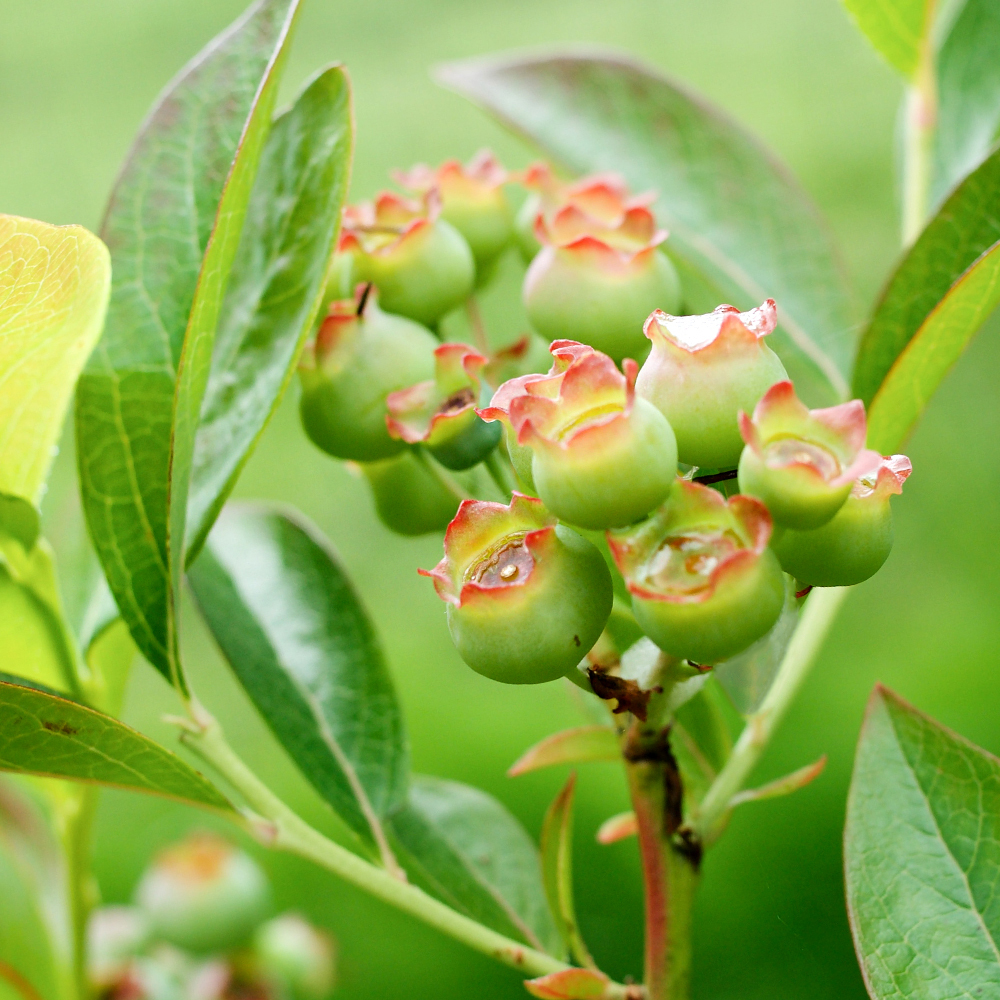
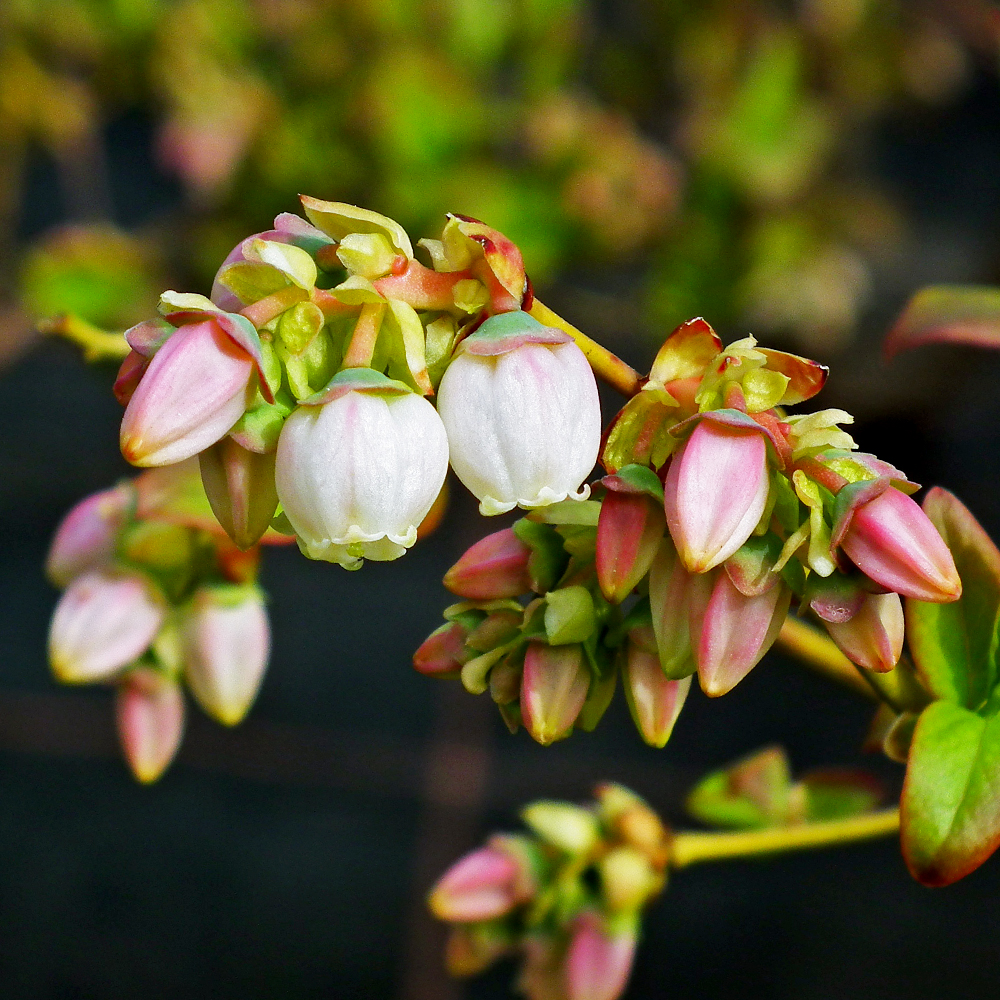
| Rhododendrons | Blueberries | Arrowwood Viburnum |
| Azaleas | Magnolias | Box Elder |
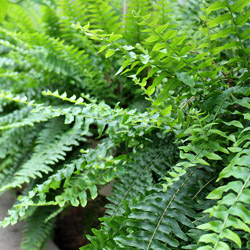
| Camellias | Ferns | Locust |
| Pieris | Firs | Philadelphus |
| Astilbe | Viburnum davidii | Hellebores |
As you see, pH can influence your gardening choices. Knowing the pH of your soil is the first step towards understanding your soil and improving your garden. By knowing the pH, you may choose the best plants for your site. You may also decide to amend your soil to increase or decrease the pH to grow a wider variety of plants.
We offer several inexpensive and easy-to-use pH test kits. We also offer amendment advice and can help you choose the best plants for your soil’s condition. Stop in for pH help today and we’ll help you make the most of the natural acidity or alkalinity of your soil, or else help you turn that soil into just the pH you desire!