Author Archives: Perennial Gardens, Inc.

Perennial Power

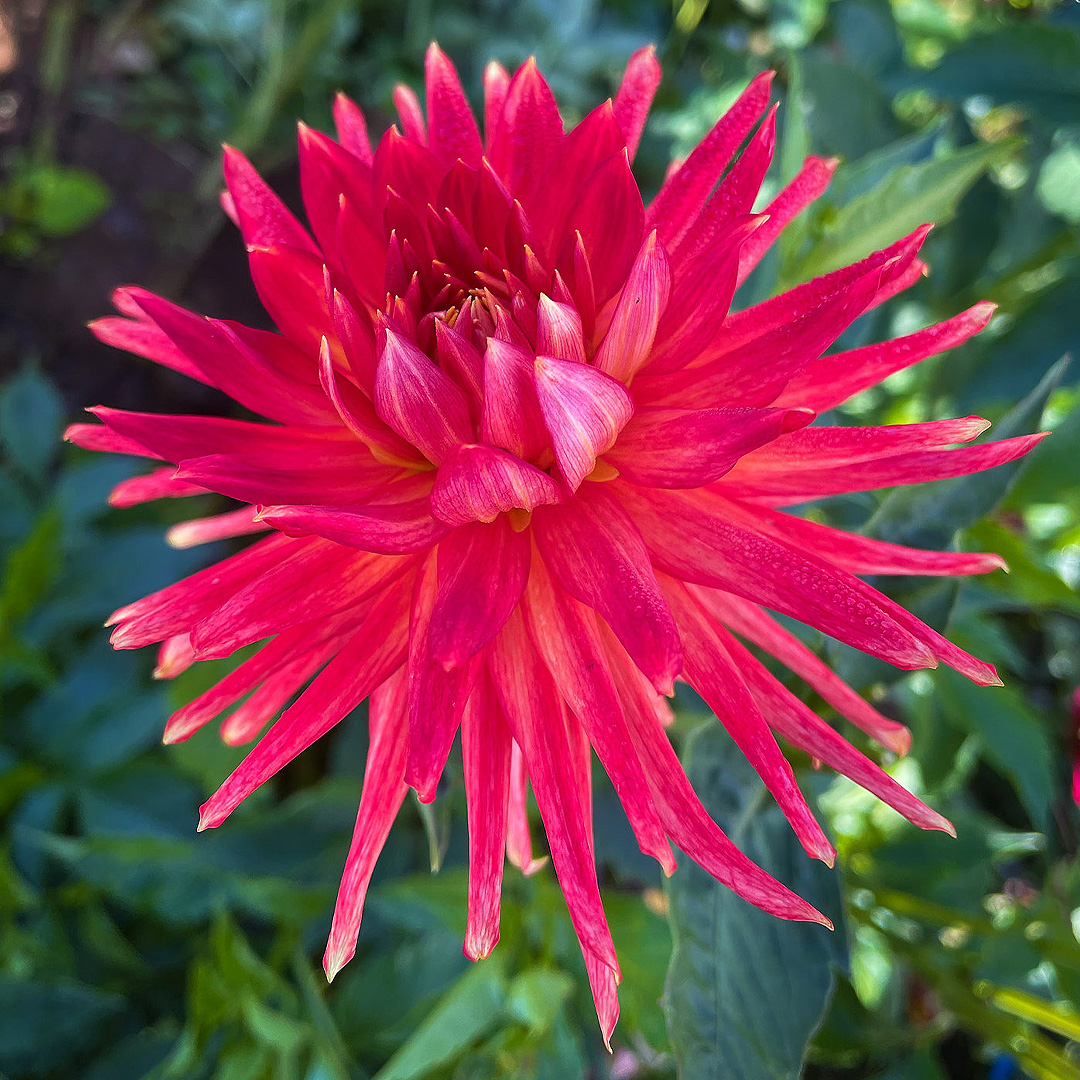
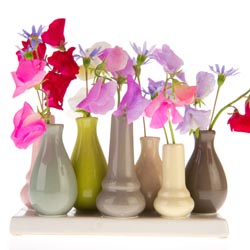
Perennials may not be the best showstoppers in a garden full of annuals, but they make great foundation plantings to serve as a reliable backdrop or trusty fillers among other plants. There’s no reason you can’t select perennials that are just as beautiful as your favorite annuals, however, it’s just a matter of choosing the flowers that pack the most punch and using them appropriately.

Best Perennials to Choose

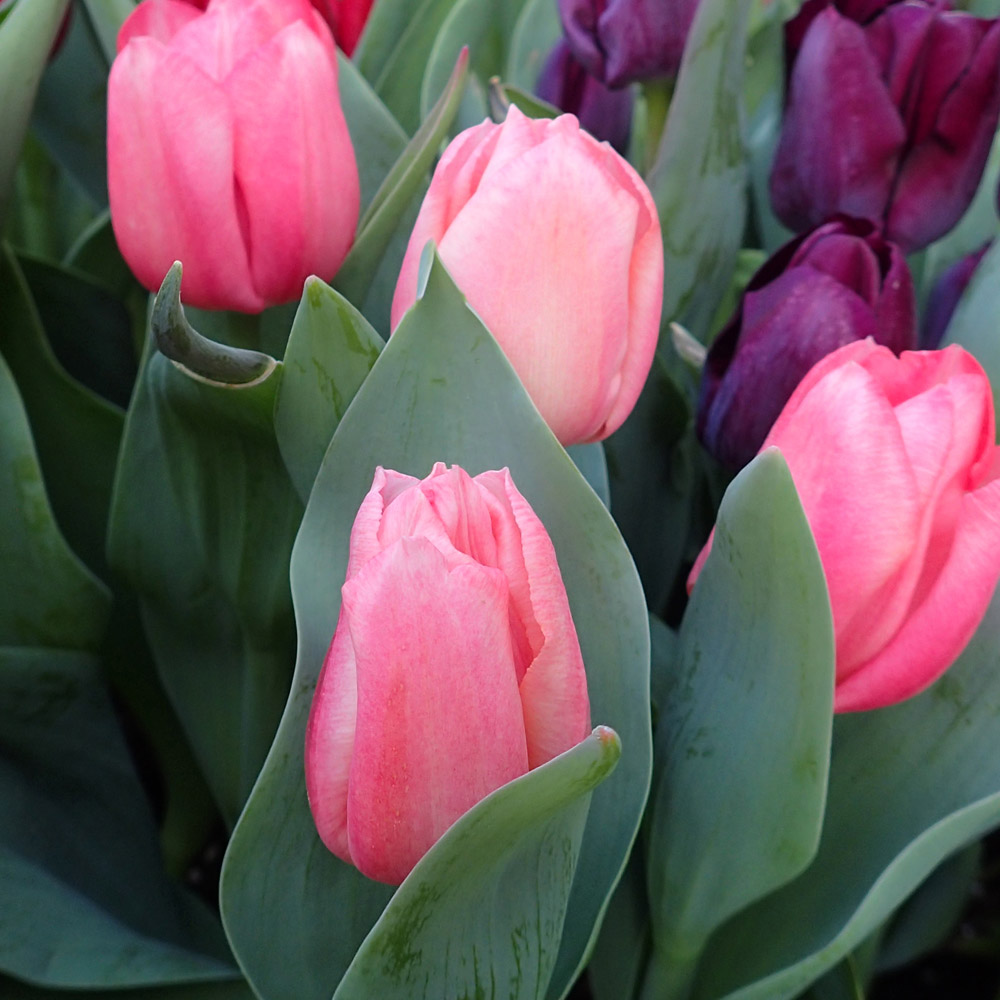
When choosing a perennial to fill an empty space in your garden, make sure to get the most bang from your buck by selecting one, or several, long-blooming perennials. These flowers will be worthwhile additions to your landscape for their ongoing staying power, giving you a reliable backdrop and structure to build from.

  • Achillea (Yarrow)
  • Alcea (Hollyhock)
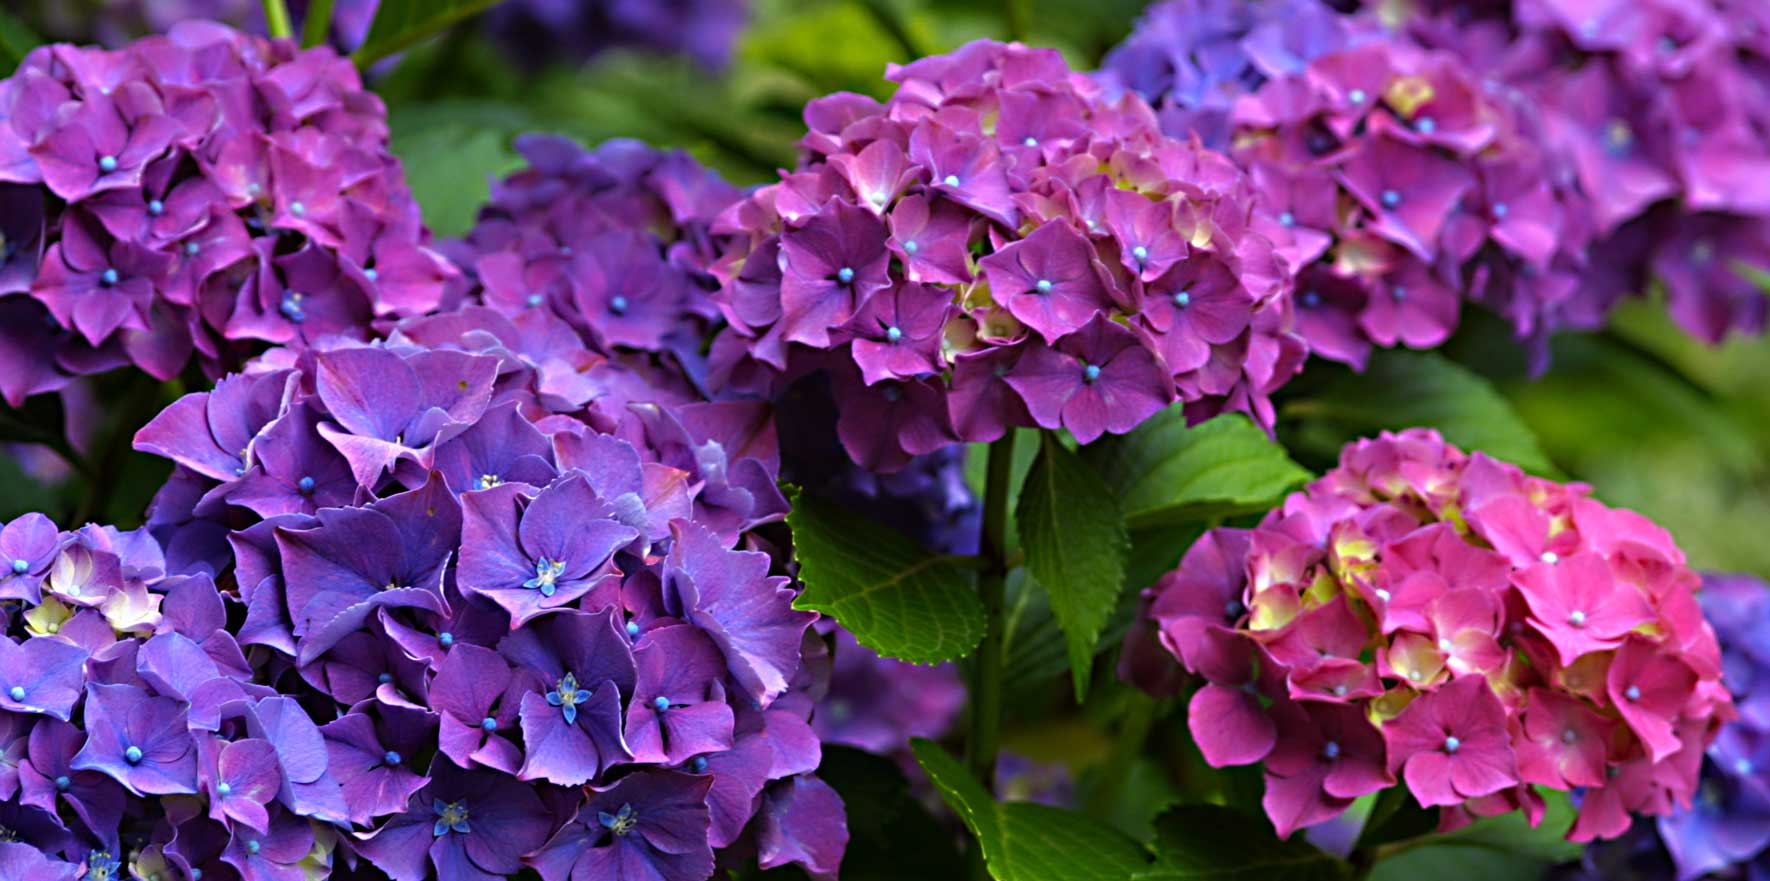
  • Anemone (Wind Flower)
  • Asclepias tuberosa (Butterfly Weed)
  • Campanula (clips series)
  • Clematis ‘Jackmani’
  • Coreopsis (Tickseed)
  • Corydalis lutea (Yellow Bleeding Heart)
  • Delosperma (Ice Plant)
  • Dicentra exima (Bleeding Heart)
  • Doronicum
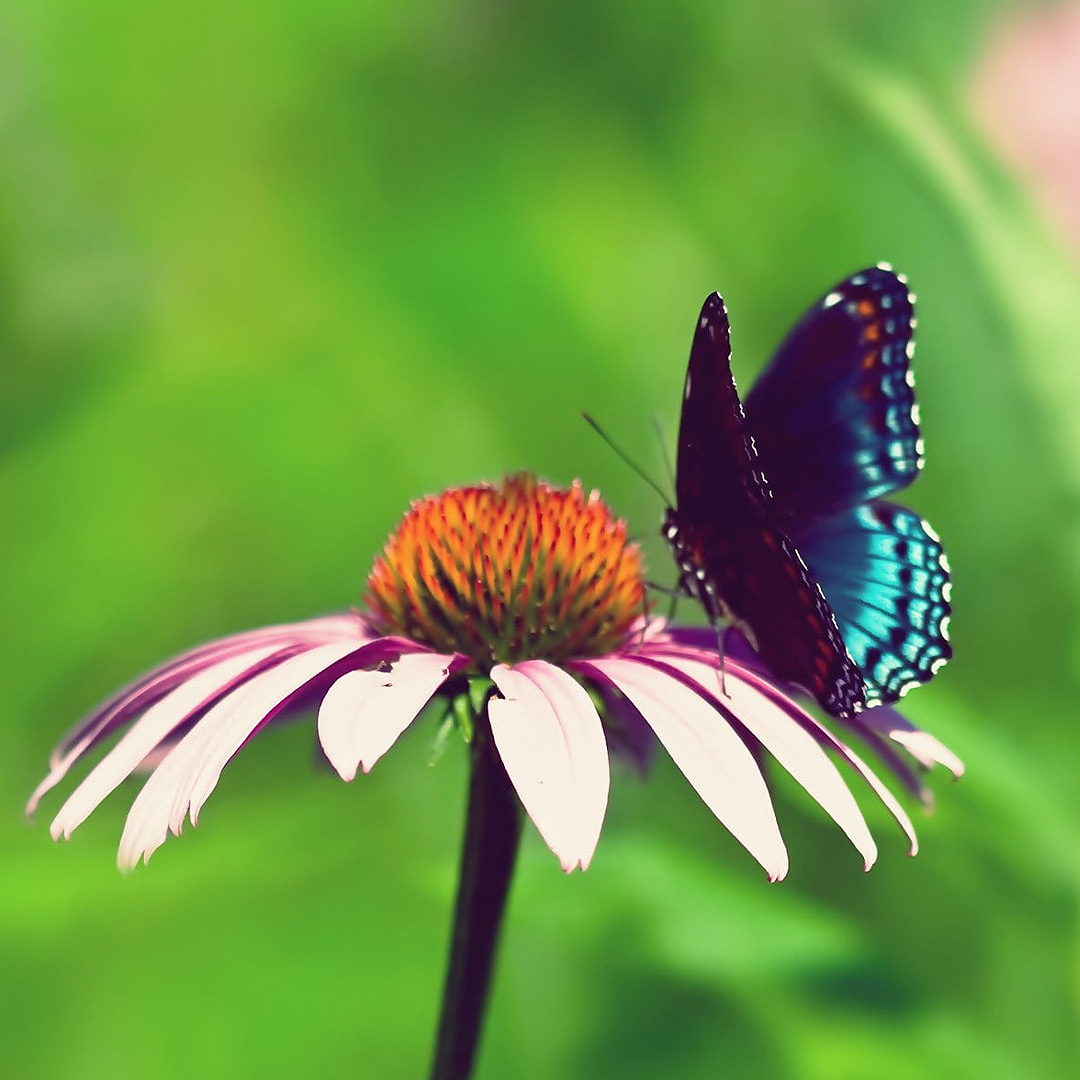
  • Echinacea (Coneflower)
  • Gallardia (Blanket Flower)
  • Gaura (Wand Flower)
  • Geranium ‘Johnson Blue’
  • Helenium (Helen’s Flower)
  • Heliopsis (Sunflower)
  • Hemerocallis ‘Stella D’Oro’ (Daylily)
  • Hemerocallis ‘Happy Returns’ (Daylily)
  • Kniphofia (Red Hot Poker)
  • Lavender
  • Liatris spicata (Gayfeather)
  • Ligularia (Ragwort)
  • Lobelia cardinalis (Cardinal Flower)
  • Lythrum (Loosestrife)
  • Malva (Mallow)
  • Monarda (Bee Balm)
  • Nepeta (Catnip or Catmint)
  • Oneothra ‘Siskiyou’ (Evening Primrose)
  • Perovskia (Russian Sage)
  • Rudbeckia (Coneflower)
  • Salvia (most verticillata)
  • Scabiosa (Pincushion Flower)
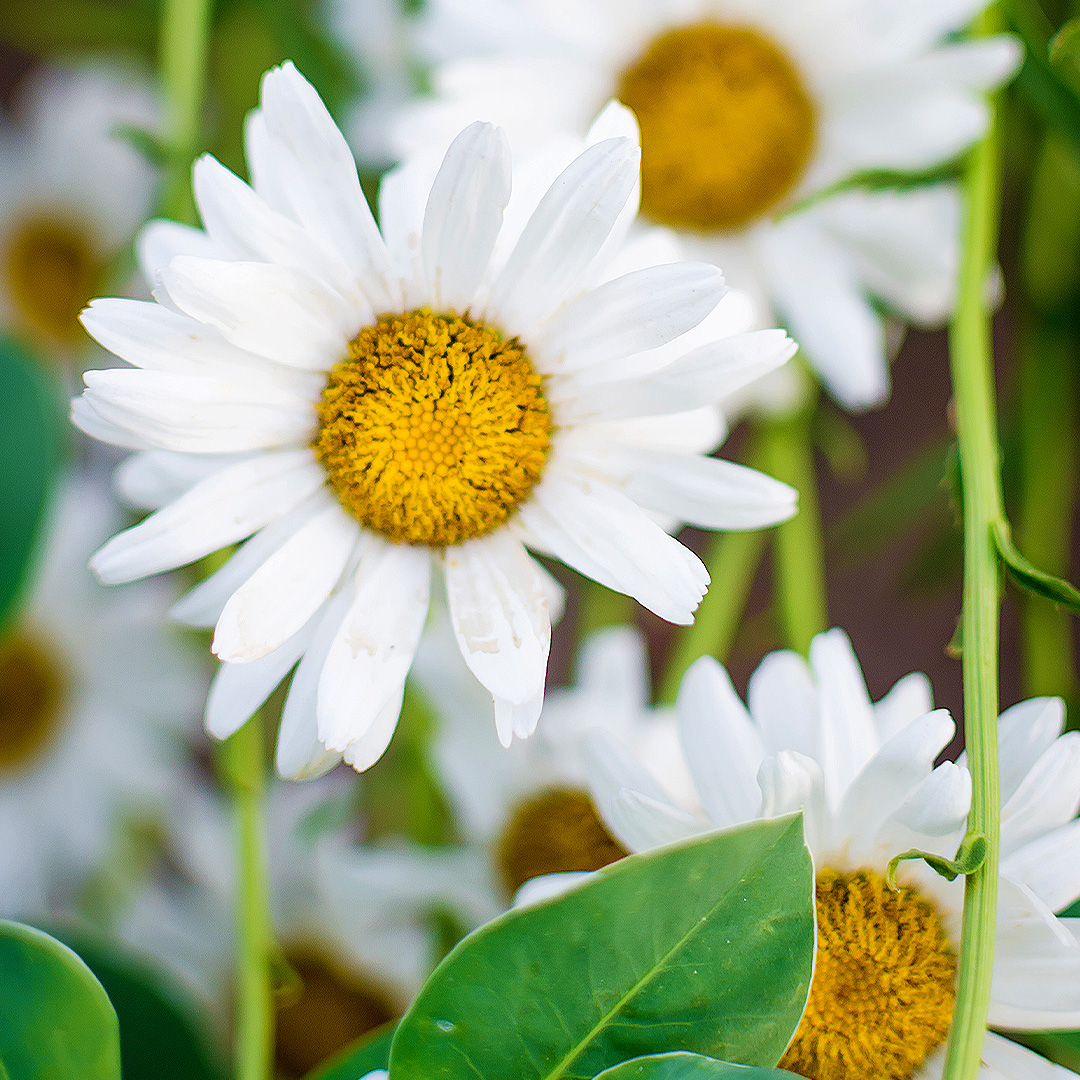
  • Shasta Daisy ‘Becky’ or ‘Snow Queen’
  • Stokesia (Stoke’s Aster)
  • Veronica (Speedwell)

Using Your Blooming Perennials

To make your perennials truly pop, it’s important to position them in your landscape where they will show to their best advantage. Popular options include…

  • Filling in between showstopping annuals with perennials that will grow and bloom to cover fading blooms after the annuals are finished.
  • Adding blooming perennials in front of a hedge, fence or privacy screen for extra coverage with a dash of color.
  • Using perennial flowers as a backdrop for lower annual plantings along a house foundation or in other flowerbeds.
  • Creating a naturalized lawn or meadow-like area full of different perennials for a low-maintenance option that still stuns.
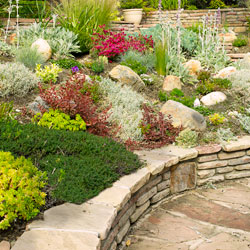
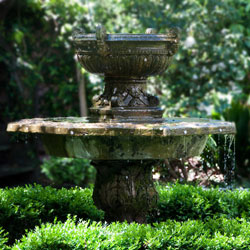
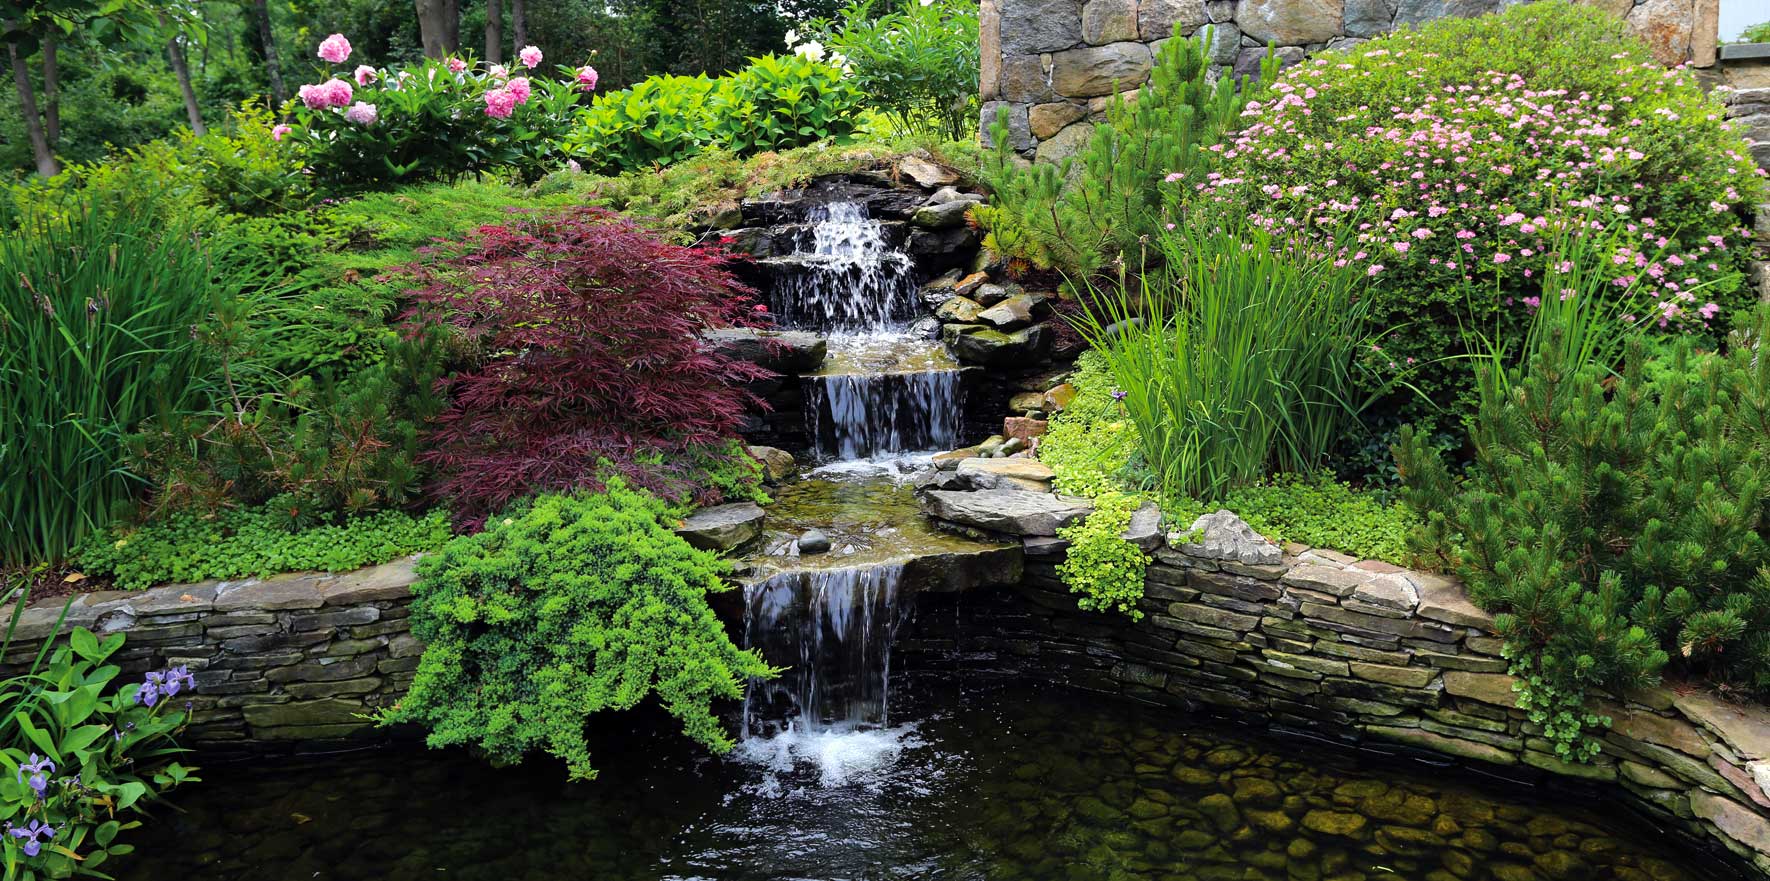
  • Planting perennials in hard-to-tend areas, such as alongside a water feature, in tight corners or on terraces so they can be gorgeous with less maintenance.

With so many options for lovely perennials that can be used in many different ways in the landscape, there’s no excuse not to enjoy these easy-care flowers for many years!

Perennials
Perennials
Perennials

Woolly Adelgid

Woolly Adelgid is an aphid-like insect that is a serious pest of the Eastern Hemlock, Tsuga canadensis, and its cultivars. Adelgids need to be controlled as this insect spreads easily and rapidly and, if left untreated, can kill a mature hemlock in 4-10 years.

Recognizing Adelgids

Adelgids, formally called Hemlock Woolly Adelgids (Adelges tsugae) or HWA, present as a fuzzy, cottony white substance on the underside of hemlock needles. This is actually a waxy filament produced by the tiny, 1/16-inch insect as a covering and protection for itself and its eggs. These insects are native to Asia, and damage trees by sucking on the sap. As damage occurs, the needles of the tree become grayish rather than robustly dark green. When infected, trees may lose their needles and will not produce new growth on the damaged branches. Because infected trees are significantly weakened, they are subject to many other infections from diseases and pests, and ultimately die.

Controlling Adelgids

Exercising good horticultural practices is the best way to prevent Hemlock Woolly Adelgid infestations. Site your hemlock appropriately, in proper sunlight and a location where it can grow well without being cramped or crowded. Water and feed as required for optimum health, including adding extra fertilization or nutrition as required. A healthy tree will always withstand disease and insect problems better that one that is already stressed.

When Adelgids are present, apply insecticidal soap or horticultural oil in early April and again in June. Be certain to follow manufacturer instructions carefully and reach the underside of the needles where the Adelgids are located. When spraying in June, do so on a cooler, overcast day so as not to burn the Hemlock needles. If your Hemlock is too large to handle on your own, contact a trusted and licensed tree-care professional for treatment. Even after you have controlled an outbreak, annual spraying is recommended to be sure the pests do not reappear.

Other types of chemical treatments that can be used against these invasive pests include…

  • Foliage Sprays: These insecticides are sprayed over the entire tree to coat the foliage. They are stronger than soaps or oils and may be effective for 2-4 years. Higher toxicity can lead to other problems and contamination concerns, however, and applications should only be done by experienced professionals.
  • Soil Drenches: These are insecticides that are specially formulated to be absorbed by the tree’s roots and then will be consumed by the Adelgids as they sip on the tree’s sap. This can take longer to be effective, however, but it has long-lasting impact to control these insects. They should not be used where water sources may be inadvertently contaminated.

In some areas, predator beetles have been released to consume Adelgids, and while this is not yet effective on a widespread scale, there have been positive reports and limited success.

Hemlock Woolly Adelgids are a vicious, invasive pest, but with proper control techniques, their invasion can be stopped and the majestic hemlock forests renewed and restored.

Wooly Adelgid

Viburnums

Viburnums are one of the most outstanding groups of shrubs for use in landscape planting. Varying in height from 2-30 feet, viburnums can be found to suit most any planting location. Their varied growth habits, excellent foliage, striking and fragrant flowers, showy fruit and interesting winter appearance make them an excellent choice for most gardeners.

Which Viburnum to Choose

Effective in many situations, the smaller shrub forms, such as Viburnum carlesi ‘Compacta’ and V. opulus ‘Compactum’, are excellent for planting close to houses or in tighter spaces, such as narrow flowerbeds or in side yards. The larger forms, such as V. lantana and V. prunifolium, make good specimen and screen plantings to be a centerpiece in the garden or provide privacy. Which one will work best in your landscape will also depend on the available space you have, your soil type and the sunlight needs of individual plants.

Flowers and Foliage

Viburnum flowers, primarily white in color, are borne in clusters, ranging from a rounded snowball shape to a flat form. Large, white snowball clusters of florets are found on V. carlcephalum and V. macrocephalum. Half-round flower forms are borne on such types as V. carlesi and V. burkwoodi. Most of the others have a flat cluster of florets such as V. plicatum ‘Tomentosum,’ V. dilatatum and others.

Viburnum foliage can be extraordinary with types that include a velvety smooth leaf surface, bold rough-veined textures and glossy leathery character, all of which add more textural interest to the landscape. In addition, some forms have attractive fall leaf color such as the purplish red of V. dentatum and V. dilatatum, as well as the brilliant red of V. opulus.

Brilliant Berries

In the fall and winter there is also ornamental value with berries. Many viburnums produce lovely fruits in shades of red, pink, yellow and blue-black which not only add to fall and winter interest, but can also be attractive to birds and other backyard wildlife.

Viburnum Care

With so many many pleasing aesthetic features of these plants, how easy are they to care for? Easier than you may think! Viburnums are very hardy, resistant to serious pests, thrive in a variety of soil and environmental conditions and require little pruning. They will grow in either sun or shade; however, flowering and fruiting will be more profuse in a sunny location.

With so much to choose from and so many advantages to these shrubs, there’s sure to be one to suit all your landscaping needs. Stop in to consult with our landscaping experts today, and we can help you choose the perfect viburnum to complement your landscape.

viburnums _2
viburnum _1

Shrub Bouquets

Do you love fresh, seasonal bouquets straight from the garden but don’t have the time to plan, plant and tend to an annual cutting plot each year? A fabulous alternative to the annual flower garden is the planting of woody shrubs. Woodies are a great investment that will reward you year after year with little maintenance. These are hardy, easy care shrubs whose flowers, foliage, berries and stems may be cut, without damaging the overall plant. Clippings from these plants may be used alone, in bouquets and arrangements or mixed with the annual and perennial flowers that you do have time to nurture and grow. No matter what the season, there are amazing shrubs that can easily become part of beautiful bouquets. Why not choose one of each for year-round options?

Spring Bouquet Shrubs

  • Common Lilac (Syringa vulgaris): White, pink, lavender or variegated fragrant blooms depending on the cultivar.
  • Flowering Quince (Chaenomeles speciosa): White, apricot, salmon, pink and red flowers depending on the cultivar. Branches may be forced.
  • Forsythia (Forsythia x intermedia): Yellow to gold flowers depending on the cultivar. Branches may be forced. Foliage may be used, after flowering, in the summer, winter and fall.
  • Pussy Willow (Salix spp.): Soft, fuzzy catkins (flowers). There are also numerous Salix grown for their colorful and twisted stems.

Summer Bouquet Shrubs

  • Bigleaf Hydrangea (Hydrangea macrophylla): White, green, pink, blue and purple flowers depending on the cultivar and soil pH.
  • Hardy Hydrangea (Hydrangea paniculata): White or pink flowers depending on the cultivar. If cut correctly, you may even get a second crop of blooms from this plant.
  • Ninebark (Physocarpus opulifolius): Deep burgundy, lime green, bronze or coppery-orange foliage depending on the cultivar. Foliage may be used in the late spring through the fall.
  • Smooth Hydrangea (Hydrangea arborescens): Large, white snowball-like flowers.
  • Smokebush (Cotinus coggygria): Bluish-green to dark purple foliage depending on the cultivar with smoke-like flower panicles in June through August. Foliage is attractive from late spring through fall.

Fall Bouquet Shrubs

  • Blue Mist Spirea (Caryopteris x clandonensis): Light, bright and deep blue flowers depending on the cultivar.
  • Heavenly Bamboo (Nandina domestica): Full, drooping panicles of yellow or red berries depending on the cultivar. Foliage may be used any time of the year, even in winter as this plant is semi-evergreen, and takes on a purple or bronze cast in the cold weather.

Winter Bouquet Shrubs

  • Bayberry (Myrica pensylvanica): Silvery blue berries.
  • Twig Dogwoods (Cornus spp.): Yellow, gold, orange or red stems depending on the cultivar.
  • Winterberry Holly (Ilex verticillata): Yellow, orange or red berries depending on the cultivar. Must plant a male pollinator in order for this plant to fruit.

Shrub Bouquets _2
Shrub Bouquets _3
Shrub_4
Shrub_5
Shrub_1

Heavenly Hosta

Hostas are amazing plants, truly glorious with heavenly foliage that is stunning as a specimen or in mass plantings. The thin spikes of purple or white, trumpet shaped flowers appear for several weeks in the summer and are an added benefit to this divine perennial. But how much do you know about hostas, and which can you add to your landscape?

Phenomenal Foliage

Hostas are praised by many for their magnificent variety of leaf sizes, colors and textures. These angels will grace your garden with heart-shaped, lance-shaped, oval or nearly round leaves, and leaf sizes vary as well. Smooth, quilted or puckered textures, with either a matte or glossy sheen, add to the glory and hostas’ radiant glow.

The leaf margins can be either smooth or wavy and range in color from light to dark green. Foliage colors also include chartreuse, gray and blue, depending on the cultivar. Variegated hostas with cream, white or yellow margins will radiate in a dark area of your garden.

Where to Plant Hostas

While most hostas are shade worshippers, some types will tolerate sun, depending on the overall climate and moisture levels. Hostas remain attractive from spring until frost and can withstand a wide range of growing conditions.

As choice groundcovers or single specimens in the landscape, hostas are certainly divine. Some hostas are quite unusual and rare and may increase in value each year, especially as the plants thrive and can be divided and transplanted with ease.

Best Hosta Care

Little maintenance is required to care for hostas. Cut off old flower stalks after flowers have faded. Divide plants occasionally to increase their quantity. Keep an eye out for pests, especially slugs and snails that munch on the foliage.

Types of Hostas

With so many selections and varieties, you can find a hosta the will fit into almost any garden situation. The most popular options include…

  • Dwarf & Small Hostas: In addition to being planted in secret little pockets throughout your garden or next to paths, dwarf and small hostas can be used in difficult places. Plant them among tree roots, on a slope or terrace or in rocky places containing little soil.
  • Edger Hostas: These hostas are 12” or less in height and have more horizontal growth. They are able to control weeds as they leave no light, when well established, or room for weeds to grow.
  • Groundcover Hostas: This group of hostas grows to 18” or less in height. They do a great job in areas difficult to weed or maintain. If you are in need of a hosta for use as a groundcover, keep in mind it works great to plant spring-flowering bulbs among them. The hosta comes up after the show of flowers and covers the fading foliage of the bulbs.
  • Background Hostas: Selections from this group grow to 24” or taller at maturity. They can be used to increase privacy where you sit and relax or to provide definition to your property line as a unique hedge.
  • Specimen Hostas: Specimens may be any size. Choose a site close to where the plant will be viewed so that every detail (texture, color pattern, buds, flowers and fragrance) may be enjoyed.

Not sure which hosta is right for you? Come in today and let our landscape and garden experts help you choose the right heavenly hosta to add a bit of the divine to your yard!

hosta _1
hosta _2
hosta_3
hosta_4

Great Gifts for Mom

Spring is the perfect gardening season and as Mother’s Day approaches right at the height of spring, why not celebrate Mom with a gardening gift? The garden center is packed with great gifts for Mom that are ideal for Mother’s Day, birthdays, or any occasion to tell Mom just how much she means and how appreciated she is.

Garden Center Gifts for Mom

There are many gift ideas that can come from the garden center. When choosing the best gift for Mom, consider her preferences, needs, and favorites to find a gift that suits her gardening style. The most popular gift ideas include…

  • Tools – Help Mom make the most of her gardening with all the best tools to get the job done. Smaller hand tools that will be more comfortable in her hand are a great choice, or choose ergonomic tools for a more comfortable grip. Is Mom a lefty? Choose left-handed tools that will be more efficient for her to use.
  • Attire – Let Mom show off her gardening style with practical attire to wear while she gardens. A broad-brimmed hat with a quirky ribbon, a colorful pair of garden gloves, a comfortable pair of clogs, or a sweatshirt for chillier gardening days are all good choices. Opt for Mom’s favorite colors or patterns for an even more thoughtful gift.
  • Signs – Mom has always been welcoming, so why not extend that hospitality into the garden with a welcoming sign? Personalized wooden signs can declare the space as “Mom’s Garden” or can be customized with her name or initials. Fun garden flags are another option to add a greeting to the garden’s entrance.
  • Fairies – Help Mom add a whimsical touch to her garden or containers with fairy accents. Small props such as charming houses, sweet little swings, quirky toadstools, and other decorations can be a fun addition to a garden of any size, from simple containers to a more extensive plot. Garden gnomes can also be a fun choice.
  • Plants – Give Mom something new to grow with a gift of seeds, bulbs, or seedlings. Choose her favorites or splurge on a new exotic variety she’s always wanted to try. If spring hasn’t quite sprung, you can also opt for houseplants or indoor garden options such as herbs to let her enjoy her green thumb even in poor weather.
  • Feeders – Let Mom welcome wildlife into her gardening space with a feeder for feathered guests. Hummingbird feeders are especially popular, as well as oriole feeders. Regular birdseed feeders can also be a great choice for the Mom who welcomes all sorts of visitors and may not mind a bit of spilled seed in her garden.
  • Houses – Another way Mom can welcome wildlife into the garden is by providing suitable homes for guests. Bird houses, bat houses, bee houses, toad shelters, and butterfly houses are all great options that can not only give Mom joy when she sees new residents move in, but they are beneficial to the garden with pest control and pollination.
  • Totes – If Mom needs a bit of help hauling all her tools, seeds, and other gear around the garden, a tote bag, bucket, or basket can be a convenient and helpful gift. For even more industrious hauling, consider a small wagon, wheelbarrow, or garden cart that you can fill with other surprises and gifts.
  • Stepping Stones – Add a personalized touch to Mom’s garden with a homemade stepping stone that includes the names of children, grandchildren, or pets. Handprint or pawprint kits are other meaningful choices, and the stones can be decorated with colored pebbles, embedded jewels, and other creative accents.
  • Containers – If Mom has trouble containing her excitement for gardening, new containers can help expand her gardening space. Choose colorful pots, stackable gardening systems, hanging pots, or wall containers for more space. If Mom has a bit of trouble getting down to the dirt, an elevated planter can be a perfect gift.
  • Décor – Add a bit of flair to Mom’s garden with a decorative gift such as a gazing ball, whimsical statue, wind chimes, or wind socks. Decorations can even have a practical side if you choose a barometer, rain gauge, plant identification stakes, bird bath, or other gift ideas that bring both beauty and functionality to the garden.
  • Hand Care – Help Mom keep her skin lovely after a day of rough gardening with hand care gifts. Lotions, soaps, and exfoliants are all available, and are often infused with beautiful garden scents such as favorite flowers and herbs. Not only will these gifts keep Mom’s skin healthy, but they will remind her of all the joy she takes in gardening.
  • Jewelry – Let Mom show off her passion for gardening with fun garden-themed jewelry such as a charm, pendant, pin, brooch, or earrings in the shape of watering cans, garden tools, or favorite plants and flowers. Mom might wear the jewelry, or jewelry could be attached to a garden tote or hand tools for a bit of bling.

The Best Gift of All

The very best gardening gift you can give Mom is just to appreciate her and her garden. Compliment the beauty of her flowerbeds or the tastiness of her herbs and vegetables, or admire how she manages to bring a plant back from the brink or coax a bigger harvest from a smaller plant. Better still, offer to help in the garden with less enjoyable chores or just spend time with Mom and all she loves about gardening. That time will become a memory you can both enjoy, and will be a gift not just for Mom, but for you as well.

gifts for mom

Rock Gardens

Rock gardens can be amazing options for challenging spaces in your landscape, whether your yard has poor soil, narrow sections, steep terraces, deep shade or other concerns. You can even design a rock garden anywhere just to enjoy their elegant lines, varied texture and easy care. But how do you put in a rock garden?

What Is a Rock Garden?

A rock garden is much more than just a pile of rocks, but of course rocks are the key component of this type of landscaping. Using different colors, shapes and textures from gravel and river rocks to flagstones, pavers and boulders will add dimension and variety to any rock garden. These unique gardens also often include rock-loving plants, a water feature or a design to mimic dry water, unexpected blooms and interesting accessories. Sizes can also vary, from simple containers or corner accents to a full landscaping bed or even an entire yard. While rocks may be a key feature of a rock garden, this type of garden can truly be anything you like!

Designing a Rock Garden

Rock gardens can be very flexible and you can create any type of rock garden you envision, but following some basic steps will give your garden a cohesive, amazing design you will love for years.

  1. Choose the Location
    In many cases, your yard will choose the location for your rock garden based on where you may have difficulty growing other plants or flowers, or where sunlight levels aren’t ideal for vigorous plants. Don’t be afraid to choose any location you’d like to see interesting rocks, however, including planning a rock garden around a pergola, gazebo or meditation space such as a favorite bench or simple pond.
  2. Lay Out the Garden Shape
    When planning a rock garden, use a hose, planter stakes or flexible edging to outline the garden space. This will help you visualize where to put the primary rocks and plants, and you can easily adjust your outline to find the perfect shape for your rock garden. You can consider natural curves and flowing lines, or you might prefer a more geometric shape for a visual pop in your landscape.
  3. Clear the Garden Space
    If the area for your new rock garden isn’t already bare, you will need to clear out existing plants and grass to make way for your new design. Opt for sharp tools designed for cutting sod and digging up root systems to be sure you are able to clear plants effectively. Putting down a layer of weed barrier fabric is a good idea to keep growth from recurring so your rock garden remains crisp and clean, reducing the need to weed.
  4. Install Rocks
    Take your time installing different rocks in your garden, starting with the largest boulders or heavier rocks and carefully positioning them just where you want to see them, checking from different angles to be sure they offer the most pleasing view. You can even create patterns with rocks, such as using different rock shapes or colors to create a spiral or labyrinth, initials or fun features such as flowers, waves or complete scenes. Think vertically as well, stacking rocks to create a cairn or arch, or opt for fun mimicry such as using different rock sizes and colors to create a dry “creek” bed in your rock garden.
  5. Add Plants
    Plants will be part of your rock garden, add them after you’ve designed the rocky spaces, and filling around these rocks with soil. Most plants can be part of a rock garden, however, drought tolerant plant that grow in well-drained, low-fertility soil are the best choices. Flowering bulbs, evergreens and ornamental grasses are popular choices, and you might include mounds of graceful groundcovers or even interesting mosses – depending on the amount of sun you receive. Keeping the chosen plants ultimate size in mind when planning is also essential to a well-designed rock garden. Make sure that the plants with stay in scale with the size garden you have created. Always when selecting plants, consider the light level of your garden as well as the soil quality and moisture levels to be sure the plants will thrive alongside your rocks.
  6. Fill Bare Spaces
    Because rocks don’t grow, they won’t gradually get larger to fill in bare spaces in a rock garden. Instead, you can fill in those spaces yourself with additional gravel or pretty pebbles, mulch or smaller ground covers. Leave enough room for any plants in the garden to grow to their mature size, but feel free to fill in the extra spaces with additional color and texture.
  7. Accessorize Your Garden
    Adding accessories, accents and decorations to your rock garden is a lot of fun, and helps add more color and character to the design. Consider a colorful gazing ball, bird bath, meditation bench, statue, fountain or other interesting element. Containers of flowers can be beautiful additions, or you might want to position solar stakes or other landscape lighting that will show off the drama of your rock garden after the sun goes down.

A rock garden is a fun chance to be creative in your landscape, and it can be a great way to show off your personality in unique and interesting ways. Rock on!

rock gardens

Growing Vegetables in Pots

You don’t need expansive acreage to grow a thriving vegetable garden. In fact, growing vegetables in pots can be very productive and can bring a delicious, healthy harvest to your home no matter what type of garden space you may – or may not – have to work with.

Why Grow Vegetables in Pots?

Whether you have a balcony, fire escape, small patio, narrow stoop, or windowsill for your gardening efforts, there is always room for a pot or two of vegetables. Yet vegetable container gardening is about more than just saving space, and there are many benefits to using pots for your garden plot.

When using pots, for example, your garden space is much less likely to be overtaken by weeds, saving you time and effort. Pots are also easier to move around your space in order to take advantage of the best positioning for sun, rainfall, and weather protection. Pots and containers can also be more comfortable for you to tend without needing to bend down or kneel as much to reach your plants and harvest your vegetables.

Easiest Vegetables for the Urban Garden

There are many options for container garden vegetables. Ideally, choose cultivars that are dwarf, miniature, or compact whenever possible, as they will be better adapted to lush growth in pots and small spaces. Popular choices include:

  • Beans
  • Broccoli
  • Carrots
  • Chard
  • Chilies
  • Cucumbers
  • Eggplant
  • Kale
  • Leeks
  • Lettuce
  • Okra
  • Onions
  • Peas
  • Potatoes
  • Radishes
  • Spinach
  • Peppers
  • Tomatoes

Because you may have less growing space than a traditional garden, choose vegetables you love and that you will use to make the most of your gardening space. Also be aware of how much sunlight your pots will receive, how deep the pots are for roots or root vegetables, and whether the plants will need vertical space for climbing before you plant them. The more familiar you are with each vegetable’s growing needs, the better choices you can make for vegetables that will flourish in your urban garden.

Tips for Growing Vegetables in Pots

No matter which vegetables you choose to grow in pots, they will need proper care to reach their full potential for a bountiful harvest. To help your container vegetables thrive…

  • Choose the Proper Pot – Consider the root system of your favorite vegetables and choose a pot deep enough to allow the roots to flourish. If you are planting root vegetables, you will need a deeper pot that allows more space for veggie growth. Bear in mind that ceramic or clay pots can be very heavy, so plastic pots may be a more convenient and easier option.
  • Position the Pot for Good Sunlight – Many leafy vegetables do well in part-shade conditions, while other vegetables need greater amounts of sunlight for the best harvest. Putting pots on a plant caddy or stands with casters can make it easy to move each container for maximum sunlight throughout the growing season.
  • Provide Necessary Support – Vining and tall vegetables may need stakes, cages, netting, or trellises to support the plant and help it stay healthy. Using proper supports will also maximize your vertical growing space. It is best to have that support in place when the plant is young, so you do not accidentally damage roots when adding a support later.
  • Use the Best Soil – Because container vegetables don’t have as much soil to draw nutrition from, it is critical to use a high-quality potting mix when growing veggies in pots. Choose a mix that will maximize water retention to help with watering and mix in compost or appropriate fertilizer with the soil before you add your vegetable plants.
  • Water Adequately – All vegetables need adequate water for lush growth and veggie production. Depending on the pot size, plant type, and climate conditions, you may need to water vegetable pots daily or even twice per day to ensure they have good moisture. Consider self-watering containers to make this garden task even easier.
  • Feed Plants Properly – The right fertilization and feeding schedule can improve your plants’ health and increase the yield of even small vegetable pots. Choose a liquid fertilizer that will meet your plants’ needs and apply it according to the label directions for the best results that maximize the productivity of your vegetable plants.
  • Consider Combination Planting – It’s easy to plant different vegetables in the same pot, but take care to group plants with similar water, fertilization, and sunlight needs so each pot can get the proper care. Themed pots can be a fun way to add flair to your vegetable garden as well – try a salad pot, a pizza pot, or even a pot for pickles, each one with related herbs and veggies.
  • Stay Alert to Pests – Unwanted pests can invade even container gardens. Inspect your pots weekly for pests such as slugs, aphids, and leaf hoppers. It is best to use the safest solution available to control insect infestations. Also, in urban gardens, animals such as stray cats, dogs, or even rats can also be a problem and you should use cages or other techniques to protect your plants if necessary.

Growing vegetables in pots can bring you a delicious, nutritious harvest no matter what the size or location of your gardening space. By choosing vegetables adapted to containers and giving your pots the best of care, you’ll soon have an amazing crop to enjoy.

Growing Vegetables in Pots

Sweet Peas, the “Queen of Annuals”

For many gardeners, it’s not the tulip or daffodil to forward to at the end of winter, it’s the sweet pea (Lathyrus odoratus) that declares, “spring is here!” The colors and sweet fragrance of these climbers announce the coming of warmer days like no other.

Choosing Sweet Peas

The hardest part of growing sweet peas is choosing from the riot of colors. From the palest of pastels to the most vivid of hues (including stripes), reds, pinks, white, blues, purples, yellows… the list seems endless. Many gardeners buy mixed packages of seeds to avoid the decision and to add a riot of spring color to the garden and landscape.

Beyond color, it is important to carefully consider different types of sweet peas. If the seed package says “tendril” this means the plants have small green growths to attach to a surface or netting to help the vine grow upright. This is how the taller sweet pea vines support themselves as they grow to 6′ (or even taller!), and they will need an appropriate trellis, arbor, arch or other structure to reach their full beauty. The varieties with no tendrils remain more compact, making them great in containers. Some of these will trail downward, creating a beautiful draping effect. Other dwarf non-vining varieties act as annual fillers in the mixed garden bed or as borders.

Growing Sweet Peas

These beauties are super easy to grow. To improve the germination rate, especially of the darker colors, use nail clippers to gently nick the seed coat and soak overnight before planting. This will allow thin shoots to pierce through the thick seed covering more easily so they can grow effectively. Sow the seeds 2″ deep in rich, well-draining soil in a full to partial sun location. If the soil is heavy, add compost to improve the texture and nutrition. Keep the soil moist, but avoid saturated soil that can drown small seeds or delicate roots. Germination should occur within 10-28 days. Continue even and consistent watering. When seedlings are 4-5″ tall, thin them to create 5-6″ spacing between plants. To encourage bushy and compact plants, pinch the tips when three sets of leaves form. Generally, do not provide additional fertilizer, otherwise the plants may be lush but the flowers will be sparse.

Impatient gardeners or those who may have a shorter growing season may also be able to purchase seedlings from a garden center. This way there will be fragrant sweet pea bouquets a month earlier, and there’s no need to miss out on the sweetness if the ideal seed planting date has passed. Removing flowers when transplanting will encourage stronger root growth to produce larger flowers later if desired.

Seeds for perennial sweet peas are also available. Unlike annual sweet peas, the perennial plant will continue to bloom throughout warm, humid summers. Be aware, however, that annual sweet peas tend to have a gloriously heady scent, but this is a feature sorely lacking in the perennial form.

Enjoy the Beauty

Those long-lasting, colorful and fragrant flowers are so sweet in large loose arrangements. They’ll easily last a week if the water is changed daily and a bit of the stem is snipped off each time to improve water uptake. Remember, the best way to extend the sweet pea blooming season is by daily picking early in the day. Or, simply enjoy these beautiful blooms by walking through the garden each day and relaxing in their delicious scent and colorful blooms.

Fall Flowers – Really!

Gardeners who just can’t get enough of annual sweet peas don’t have to mourn their loss in spring. Instead, grow them again in the autumn! These fast-growing flowers will thrive just as well in the cool autumn as they did in the early days of spring. Just remember to provide enough time for flowering before the first frost hits, and you’ll love using sweet peas to say goodbye to the gardening season in fall just as you said hello to them in spring.

sweatpea_1_250x250
sweetpea_4_250x250sweatpea_2_250x250Lathyrus in little vases

Soil 101

How well do you understand your soil? It’s more than just dirt, and the more you learn about soil, the better you’ll be able to care for it to ensure a stunning landscape, healthy lawn and productive garden.

All About Soil

The four elements of soil are minerals, water, air and organic matter. Different combinations of the four elements create the four main categories of soil: sand, silt, clay and loam. Of course, we all want loam – that rich, vibrant soil thriving with beneficial bacteria and with a smooth but crumbly texture ideal for root growth. Unfortunately, true loam soils are rare, especially around homes where topsoil was removed and heavy machines compacted the remaining soil during construction or renovation. Most of us have clay soil, which has finer particles that compact easily into a dense mass. Clay soils also retain more water and can easily become too soggy or waterlogged for healthy plants. But just because your soil may be clay, it doesn’t have to stay that way!

Improving Soil

Improving soil is actually quite easy. All soils are improved by adding minerals and organic material that help balance out the overall components of the soil’s structure.

Before adding minerals, test the soil to determine its pH (acidity or alkalinity) and determine any mineral deficiencies. Lime decreases soil acidity, gypsum adds calcium and helps break up heavy clay and sulfur increases acidity. Other soil amendments to add to a clay soil include sand, cottonseed meal and peat moss, all of which will help improve the drainage and structure.

Organic matter refers to plant or animal materials decomposed into compost or “humus.” This residue comes from leaves and other plant materials, as well as certain animal wastes. Grass clippings, paper and certain types of decomposing food can also be ideal compost. The quality depends on the origin of the original biodegradable matter. Many people make their own compost using bins in which materials are mixed until they decompose. Others purchase finished compost. When compost is added to soil, it releases nutrients that are vital for healthy plants, and healthy bacteria and microbes will thrive in organically-rich soil.

The Magic of Mulch

Mulching is a simple way to add biodegradable materials to the soil. Evergreen needles, tree leaves, lawn clippings, chicken manure, etc., can be worked into the soil to decompose. This process improves the air spaces between the soil particles and rearranges the sand, silt and clay to produce optimum soil structure, improving the water retention and drainage balance and making nutrients available to plants.

When soil has proper structure and sufficient nutrients for healthy plants, optimum health has been achieved, and great soil will lead to great landscaping, turf and gardens. Congratulations and keep on growing!

soil_4

soil_1

soil_2

soil_3

Trackable Tools

It’s the beginning of a new gardening season. Hopefully you took out last year’s journal in January or February and reviewed your notes on what you wanted to change, improve, experiment with or eliminate from your garden and landscape. Now is the time to begin implementing some of those great ideas, and it starts with having the right tools.

Where Do Your Tools Go?

One common problem in the garden is misplaced tools. We’ve all found hand tools in the spring that were inadvertently thrown in the compost pile or left under a shrub during fall cleanup. Many of us have spent time we didn’t have to spare walking in circles, looking for the shovel that we just had in our hand. It was laid down for a moment and seemed to disappear. Tools can easily disappear on a crowded workbench or in a cluttered shed, or they may even end up in a brush pile or other unlikely location.

When tools are lost, not only are our gardening chores impacted, but the tools can be damaged by exposure or accidental damage if they’re dropped, run over with a mower or otherwise subjected to inadvertent abuse. This can mean we no longer have the tool we need when we need it most, and we have to make a trip to the garden center to replace a tool – using time and money our gardening budget may not have.

Finding Your Tools

Let’s do things differently this year. Let’s save time, money and our precious tools. Resolve to only buy new hand tools with bright colored handles that are easily seen from afar and stand out to be picked up after a long day in the garden. If you already have a good selection of tools that you love and wish to keep track of, simply cover the handle with a bright colored spray paint on a sunny spring day, or wrap the handles with brightly colored tape or other coverings to make them more visible.

Similarly, take the time to clean out and declutter your garden shed, tool boxes and workbenches, making sure there is a safe, appropriate place to store every tool. If each tool has a place, you’ll be able to see at a glance when a tool may be missing and you can find it quickly before you’ve forgotten where you saw or used it last.

You and your garden will be glad you did!

trackable_tools_1

Easter Plant Guide

Easter is a season of rebirth and renewed growth in the garden, and many beautiful plants can be lovely gifts to celebrate this spring holiday. Whether you want to give plants as thoughtful Easter gifts to friends, family members, neighbors, coworkers, caregivers, teachers, or any other special person, or even just enjoy the plants yourself, this Easter plant guide can help you choose the best options to spread seasonal cheer.

Before You Choose a Plant

When giving a plant as a gift for any occasion, consider the recipient’s needs and preferences to be sure the gift will be suitable. Is that someone special able to care for a larger potted plant, or would a smaller one be more appropriate? What are that person’s favorite plants or flowers, or what are their favorite colors? Do they have an interest in cultivating houseplants, or are they more suited to receive a potted plant that can be added to their garden or landscape?

By taking those factors into consideration, you can choose the best Easter plant to be a welcome and thoughtful gift, one that will demonstrate the season’s beauty and nature’s freshness long after Easter weekend has passed.

Top 10 Easter Plants

There are many choices for attractive Easter plants that can be wonderful gifts and attractive seasonal accents. The top plants associated with spring and Easter include…

  1. Easter Lily
    The large, upright Easter lily plant is always a favorite in spring with its bold foliage and peaceful white blooms. This plant can come in single or multiple blooms depending on the size of the plant and is typically offered as a potted plant.
  2. Lily-of-the-Valley
    The delicate bell-shaped flowers of lily-of-the-valley are an early sign of spring, and these plants can be grown in containers or planted as groundcovers in areas with partial shade. They will spread rapidly, filling in an area with their fragrant blossoms.
  3. Calla Lily
    These elegant blooms have a modern, sophisticated flair and are available in both large and miniature varieties. Calla lilies come in many colors, from rich purples, reds, and pinks to paler shades of yellow, ivory, and white, offering choices for anyone’s favorite hues.
  4. Daffodil
    A classic spring flower, the sprightly daffodil is an early blooming bulb and easy to grow in containers of different sizes, making it ideal for a gift. Available in yellows and whites, this is a cheerful flower always suitable for Easter, and can be a cut flower as well.
  5. Tulip
    Tulips come in a wide range of amazing colors and variegated shades, so it is easy to find the perfect potted tulip bulb or cut tulips for anyone’s tastes. There are even variations in size and petal shape for even more uniqueness for these stunning flowers.
  6. Miniature Rose
    Roses are familiar flowers, and miniature rose bushes are a fun Easter gift for anyone who loves their beautiful aroma. Different colors and rose varieties are available for these potted gifts, and they make great houseplants year-round.
  7. Crocus
    Another classic, early-blooming spring bulb, crocuses are compact and ideal for containers, either alone or paired with other spring bulbs. Available in several different colors, these flowers can create a lovely pot for a gift arrangement.
  8. Hydrangea
    Large, bold flowers with multiple blooms in a bundle, hydrangeas are stunners as cut flowers as well as planted in the landscape. These flowers come in calming spring shades of pastel pink, blue, and purple, as well as soft white hues and pale greens.
  9. Hyacinth
    A colorful bulb that blooms in upright bundles, hyacinths come in bold colors as well as more classic spring shades. These are great flowers for containers and can easily be planted to bring color to the landscape for many years to come.
  10. Easter Cactus
    A close relative of the Christmas cactus, this succulent features fleshy, lobed foliage and colorful blooms that appear in spring. This plant is an easy-care choice and can live for many years in suitable containers.

While these plants may be classic options for Easter, any plant can be a wonderful gift to share the joy of the season or to decorate a table, mantle, windowsill, entryway, or other household niche. Another option, particularly in regions with long, severe, winters, is to give seeds as an Easter gift so they are ready to be planted as soon as spring does arrive, even if the holiday is too early for planting.

Giving a Plant for Easter

No matter what plant, bulb, or flower may be used as an Easter plant, a bit of decorative flair can tie it to the season and make it more festive. Opt for a fun, spring-themed pot in a bright hue, or one with a whimsical floral or Easter pattern. Adding an Easter ribbon or plant pick to an arrangement can give it a holiday touch, or pair the gift with additional items, such as a new pair of garden gloves, ergonomic hand tools, or a garden knee pad for even more usefulness as the gardening season warms. Be sure the plant itself is in prime condition just before being presented as a gift by pruning away any spent foliage or bruised blooms, and water it a day or two before the presentation so it is as fresh and lush as possible. This extra care will ensure the plant is healthy and able to be enjoyed for the entire Easter weekend, and the good thoughts and best wishes that accompany it will last long past the holiday.

Easter Plant Guide
Easter Plant Guide
Easter Plant Guide
Easter Plant Guide

Sustainability in the Garden

Every urban garden, no matter its size, can practice mindful sustainability. But what does that mean for your garden and the harvest you produce? What sustainability practices can you implement in an urban garden?

Why Sustainability Matters

We are growing ever more conscious about the fragility of our climate, ecosystems, and habitats. Practicing sustainability allows us to minimize waste, conserve natural resources, and minimize the environmental impact of our actions. A more eco-friendly garden has less overall impact, with less contamination of food or water supplies. Smarter resource use is especially critical in urban gardens where space is already at a premium. As we implement more sustainability techniques, we gain an intimate knowledge of how our food is grown, improve our self-confidence with the hands-on efforts to create gardens, and even save money through resource conservation and self-sufficiency.

10 Easy Sustainability Practices in the Urban Garden

There are many simple ways to introduce greater sustainability to your urban garden. While each technique may not be suitable for every garden, popular and widespread options include…

  • Mindful Use of Space – Space is one of the most limited urban gardening resources and making better use of every inch of growing space is essential to maximize the harvest and improve sustainability. Even a tiny urban garden can create space by adding tiers, hanging baskets, or vertical structures to the growing area. Planning combination pots with similar care needs as well as choosing dwarf, compact, or miniature cultivars will also make better use of the available space.
  • Composting – Enrich your urban garden without extra chemicals when you embrace composting. You don’t need a large compost pile to nurture your plants, and even small, countertop scrap pails and compact composters can create nutrient-rich amendments for your garden. A wide variety of materials make excellent compost, including coffee grounds, used tea bags, burnt matchsticks, stale bread, eggshells, hair clippings, vegetable peels, old wine, cardboard toilet rolls, and much more. Every bit of material you turn into compost is less material that will take up space in trash cans and landfills. Never add animal products to your compost as it will draw vermin to your compost container and garden.
  • Upcycling Materials – Another way to minimize waste is to upcycle different materials in your garden. A broken plate or pot, for example, can become a beautiful mosaic to decorate a bird bath, while an old pair of boots or clogs can become a whimsical planter. A discarded pallet can be a useful trellis for vertical gardening, and you can often find garden tools, pots, and other essentials at thrift stores and yard sale for a fraction of the price of purchasing new items.
  • Choosing Native Plants – Opting for native plant varieties in your urban garden will create a healthier, more productive plot that requires fewer resources and less overall effort to maintain. Native plants are adapted to regional soil types, seasonal shifts, and climate variations, and will also ward off familiar local pests and diseases more effectively. This means less watering and fertilization will be necessary, and plants will be better able to withstand normal variation in weather cycles and common pests without extravagant assistance. Native plants also attract pollinators!
  • Minimizing Chemical Usage – No matter what plants are part of your garden, minimizing chemical use is a key part of sustainability. Fortunately, this is especially easy in urban gardening with smaller plots, raised beds, and containers. Instead of spraying for pests, for example, pick bothersome insects from your garden by hand and use insecticidal soap. Similarly, instead of herbicide applications to control weeds, pull weeds by hand to not only reduce chemicals, but also get a great hand and wrist workout.
  • Collecting Rainwater – There’s no need to use extra water on your garden when Mother Nature provides abundant rain. Adding a rain barrel or small cistern to your garden space will help you collect water that would otherwise run off the roof. Why not save it for watering plants? At the same time, take care not to waste water by overwatering, and consider planting a rain garden so naturally thirsty plants can take advantage of runoff or low drainage spots to meet their needs without supplemental watering.
  • Collecting Seeds – Seed saving can be a fun and rewarding endeavor. Store collected seeds in a cool, dry spot, and label them carefully so you know which seed is which when it is time for planting again. Investigate local seed swaps to expand your collection and share your own seeds with others to increase your garden’s diversity. You can also start your own seed swap with other neighborhood gardeners, and you will all benefit from extra bounty.
  • Inviting Pollinators – A sustainable garden is one that welcomes wildlife. Inviting pollinators – bees, butterflies, hummingbirds, etc. – to your garden will not only foster better natural diversity in your region but will also improve your garden’s blooming and production. Consider adding a drinking station for bees and butterflies, a nectar feeder for hummingbirds, and a bee house to your garden space to bring pollinators right to where you can use their help the most.
  • Planning Useful Recipes – Even a garden that practices sustainability isn’t doing much for the environment if the harvest it produces goes to waste. Choose plants you love and will use as cut flowers, delicious meals, and flavorful herbs, and plan your menus and home décor seasonally to take advantage of your garden’s bounty. If your garden produces more than you can use, share the excess with your neighbors or investigate donating it to a local food bank, shelter, hospice center, day care, or other facility.
  • Involving Neighbors – The more urban gardens that practice sustainability, the better the entire regional environment and habitat will be. Sharing produce with your neighbors, teaching classes on sustainable gardening at a local community center, getting involved with youth gardeners, and other connections will help create a stronger community and bring everyone together for amazing urban gardens that enrich and enliven the city spaces we all share.

Whether you are ready for one tentative step or are already making bold strides, every urban garden can practice sustainability steps and help create healthier, richer green spaces in any city.

Sustainability in Garden

Early Spring Gardener’s Calendar

* Plan your summer vegetable and herb garden. We offer a wide selection of seeds that include all of your favorite annuals, perennials, vegetables and other novelties as well as many hard-to-find selections. Inventory your pots and flats and discard unusable ones. Make a list of the supplies you will need. Have your garden soil tested for nutrient content. We offer a variety of do-it-yourself soil test kits.

* Prune woody plants while dormant, including fruit trees, summer- and fall-blooming shrubs and vines. Limit pruning of spring-blooming trees and shrubs to the removal of sucker growth and rubbing or broken branches. Spray trees and shrubs with year-round horticultural oil to reduce insect population.

* Sharpen, clean and oil tools and lawn mowers. Begin heavy annual pruning of shrub roses as new leaves appear.

* Plant pansies, English daisies and primrose as soon as the earth is workable. Plant strawberry plants. Sow cool-season vegetables and herbs in the garden.

* Start spring cleanup and begin major lawn work. Remove debris, dethatch your lawn or aerate compacted areas to improve water penetration.

* Spray needles and limbs of Arborvitae, Cryptomeria, false cypress, fir, hemlock, Juniper, pine, yew and spruce (except blue spruce) for spider mites with year-round horticultural oil.

* Apply fertilizer to perennials and roses with. Feed berry bushes, grapevines, rhubarb and asparagus a balanced 10-10-10 fertilizer before new growth begins. Fertilize trees and shrubs.

*Apply crabgrass preventer with fertilizer to feed the lawn and control crabgrass. Do not use on newly seeded lawns.

* Continue spring cleanup. Cultivate to remove winter weeds and debris from the planting beds. Apply corn gluten or a pre-emergent herbicide with fertilizer specified for gardens and scratch it in to prevent future weeds. Do not use in gardens where you will be direct seeding.

* Reseed bare spots in established lawns. Keep the area moist until seedlings appear, then mow when the new grass is 3? high.

* Prune forsythia and other spring-flowering trees & shrubs after the flowers fall.

* Dig and divide crowded early spring bulbs after they finish blooming. Enrich the soil with bone meal.

* Plant and transplant trees and shrubs, including roses, ground covers, and perennials.

* Transplant cool-season seedlings into the garden. When the soil temperature reaches 60 degrees, sow warm-season vegetable and herb seeds.

* Place gro-thru sets over peonies, grasses or any other perennials in need of support.

Creating a Meditation Space in Your Garden

Gardening can be a relaxing, therapeutic hobby as you nurture seedlings, encourage growth and bring your harvest to fruition. But if you just want to take a moment to breathe, reflect and center yourself, it isn’t necessary to get out the garden clogs, sharpen your hand tools or get dirt under your fingernails. Creating a peaceful meditation space in your garden is easy, and can turn any garden into your own private sanctuary.

The Need for Peace

As our lives get ever busier with hectic schedules and cramped appointments, it may seem impossible to have any time for thoughtful reflection or meditation. Furthermore, smaller living spaces and more crowded urban areas can make it seem equally impossible to have any space for solitary peace. Without the ability to relax, we’re faced with skyrocketing stress in our lives, along with a host of different health problems such as tension headaches, high blood pressure, depression, obesity and more. More and more studies, however, are demonstrating that time spent in nature is beneficial for reducing stress and tension, and there’s no better place to easily enjoy nature than in your own garden.

Your Peaceful Purpose

Before creating your meditation space, you need to plan what you want to use it for in order to ensure you have enough room and all the right touches for your peaceful retreat. Meditation can mean something different to everyone – you might prefer a place for quiet, contemplative prayer, or you could be interested in an outdoor space for yoga practice. For some people, a restful space for coloring or painting is their ideal meditation spot, while others may want a natural niche for reading or journaling. Creating or listening to music may be part of your meditation practice, or even a cozy spot for an outdoor nap. Whatever means peace and relaxation to you, it can be incorporated into your garden.

Eliminating Distractions

Once you know how you will use a meditation space in your garden, it is essential to eliminate other distractions and interruptions from that space. Unwanted noises, glaring streetlights, unsavory sights and even unpleasant smells can interrupt meditation and disrupt your relaxation, but it is easy to plan your gardening to eliminate those difficulties. For example, a green wall or trellis can be used to block an unsightly view, and the plants on it will help muffle noises. You could also consider a small fountain for the soothing tinkle of running water to block traffic or neighborhood noises. Climbing, clinging vines can be used to cover structures with greenery to increase the natural feel of the space. Opt for arbors or pergolas that can help create comfortable shade and define the space without completely blocking sunlight, and consider fragrant flowers nearby if unwanted aromas are invading your garden.

Adding Joy to Your Garden Space

Once your meditation area is structured and distractions are minimized, it is time to add your own personal joy into the space. What brings joy to the space will vary from garden to garden and even from season to season, but it should be a personal choice and something that helps draw you into the space. Consider…

  • Seating
    In order to enjoy your meditation space, you will need a place to sit and relax within it. This may be a comfortable bench, a cozy chaise lounge, a soothing hammock or any other type of seating. A chair-sized boulder can be a natural alternative, or you may opt for a more whimsical swing to add a dash of fun to your personal space.
  • Sights
    You’ve taken steps to block sights you don’t want to see in your garden, but a good meditation space will also include sights you want to look at. A bird feeder or bird bath can invite beautiful feathered friends to share your space, or you might prefer a lovely piece of garden art, a gazing ball, plants in your favorite colors or even unique mulch or paving stones in a therapeutic pattern.
  • Sounds
    Pleasant sounds can help add a focal point to your meditation space, allowing you to focus on unique tones to help center yourself. A wind chime, waterfall fountain or even a way to bring your favorite music outdoors can be a wonderful addition to a peaceful meditation space.
  • Water
    Water can serve several purposes in a meditation space. Flowing or splashing water provides natural white noise, and the sparkles of the water are ideal for meditative gazing or creating soothing reflections. Consider different aquatic options, such as a small stream or brook, a weeping rock, a fountain or even a reflecting pool. You can even opt for a small pond for goldfish or koi if you desire.

Above all, remember that there are no strict rules for creating your personal meditation space. Whatever brings you peace and joy can be part of your design, and it can change as your tastes and preferences change. Garden meditation spaces can vary as much as any other part of the garden, but each one helps nurture our green spirits.

Meditation

Meditation

Meditation

Meditation