With the right plant picks, you can grow a bountiful feast of fruit in your urban garden. From your favorite fruit trees to succulent vines to bushes bursting with berry goodness, your urban garden can be highly productive, supplying delicious fruit for your nourishment and enjoyment.
What Fruits Need
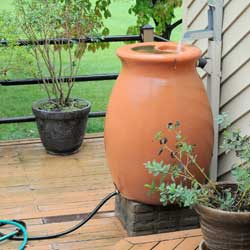
Fruit-bearing plants need well-drained, loamy soil, adequate water for appropriate juiciness, and abundant sunlight for rich, productive growth. It can be a challenge to meet those needs in an urban environment, but your space may offer more resources than you realize. Study how sunlight moves through your garden space, including how shaded and sun-drenched areas change over time so you can best plan which plants to position for the best growth. Choose good quality potting soil if you’re planting in window boxes, pots, or containers, or amend your natural soil with appropriate compost and add the correct fertilizer to nourish hungry plants. Be prepared to water your plants adequately, particularly if natural rainfall isn’t enough for the plants’ needs. Regardless of the size of your garden space, you can meet fruits’ needs for a delicious and abundant harvest.
Best Fruits for Urban Gardening
The best fruits for urban gardens are those that keep compact shapes and adapt well to smaller spaces. They are also flexible with their sunlight needs, though most fruits require at least some full sun for the best production. Fruits that are well-suited to urban spaces include…
- Apples
- Blueberries
- Bush cherries
- Figs
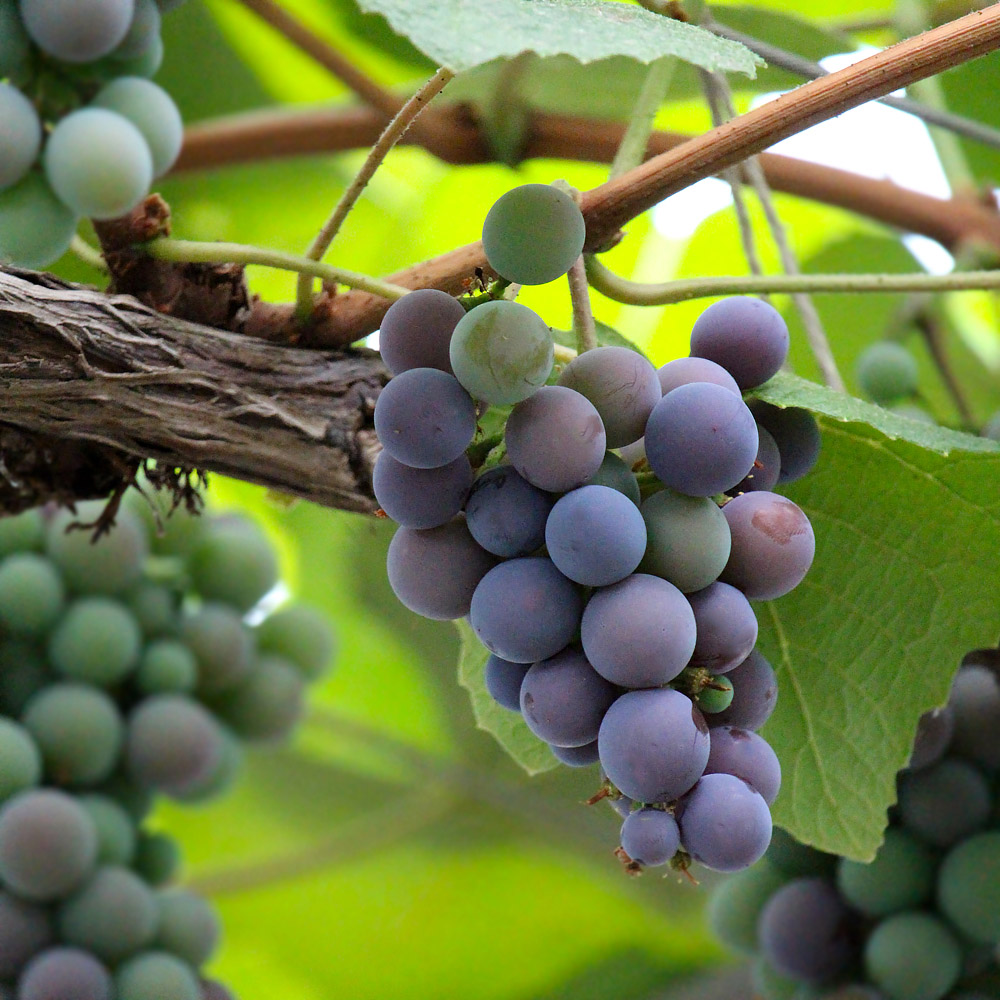
- Grapes
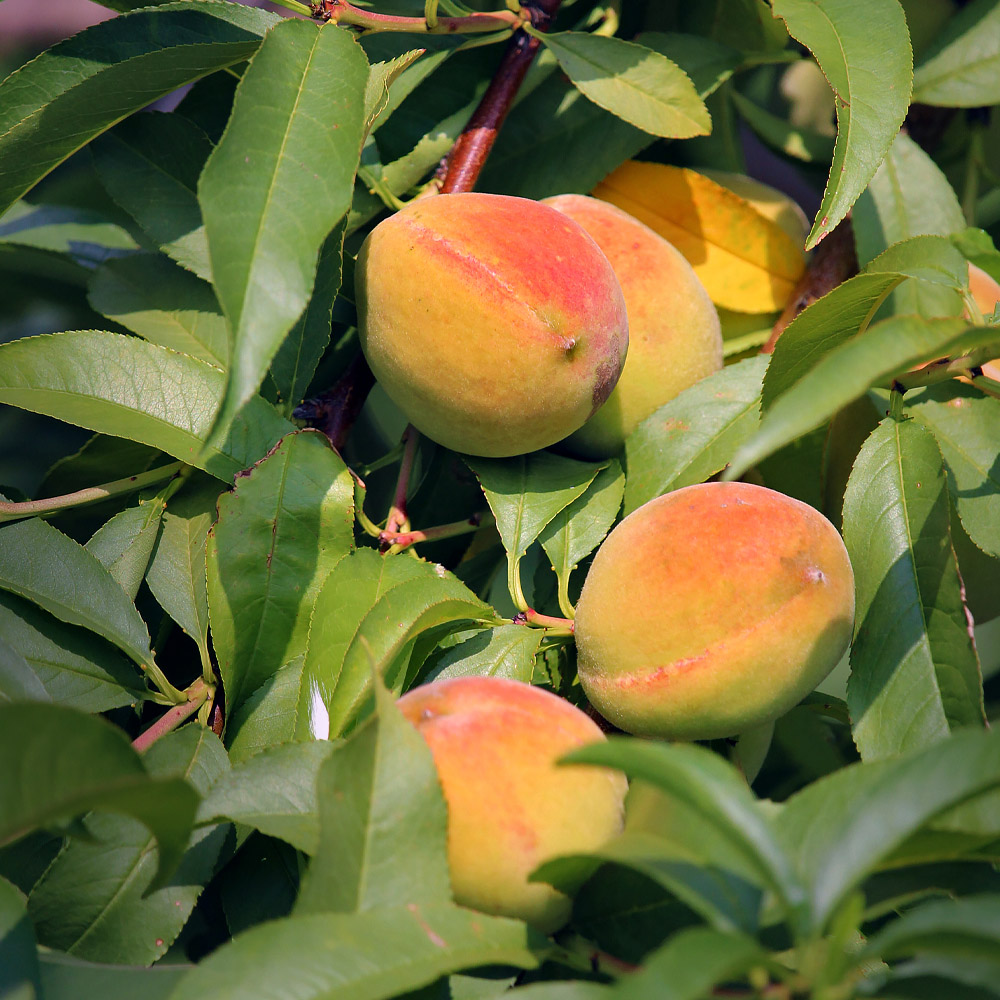
- Peaches
- pears
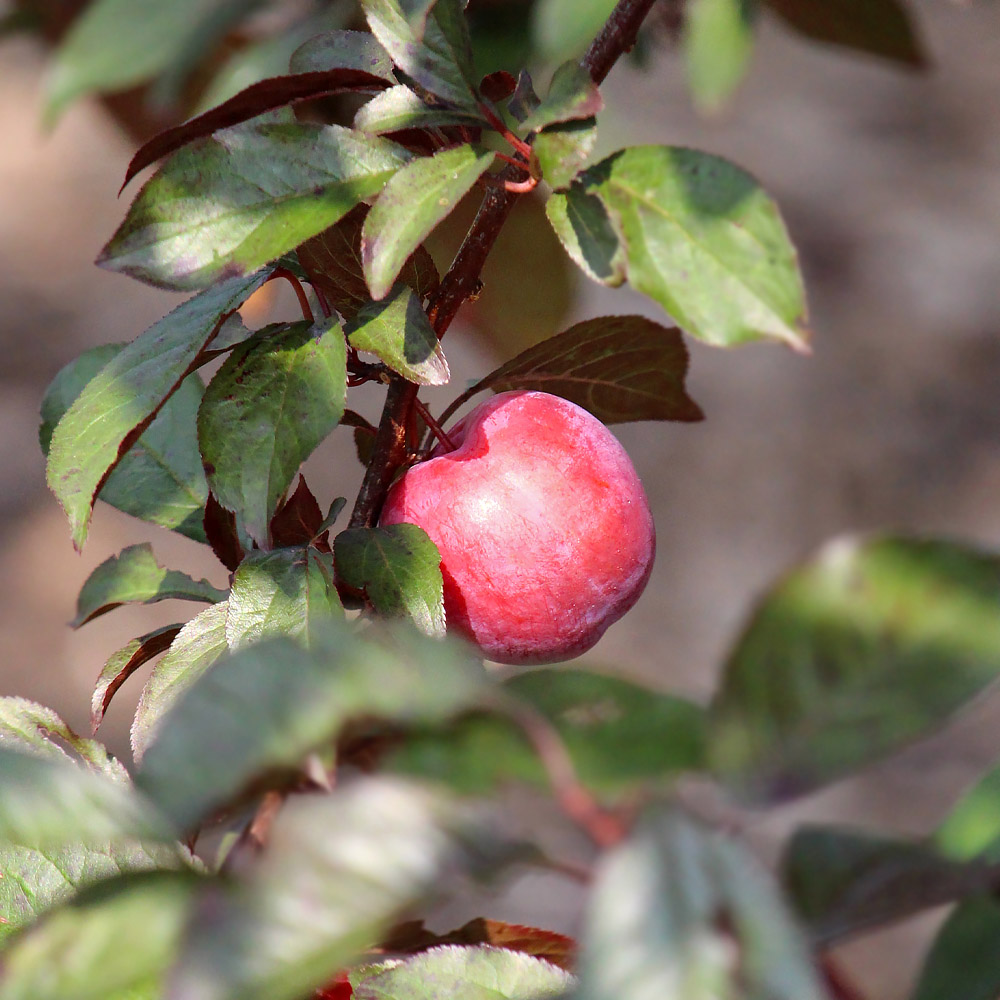
- Plums
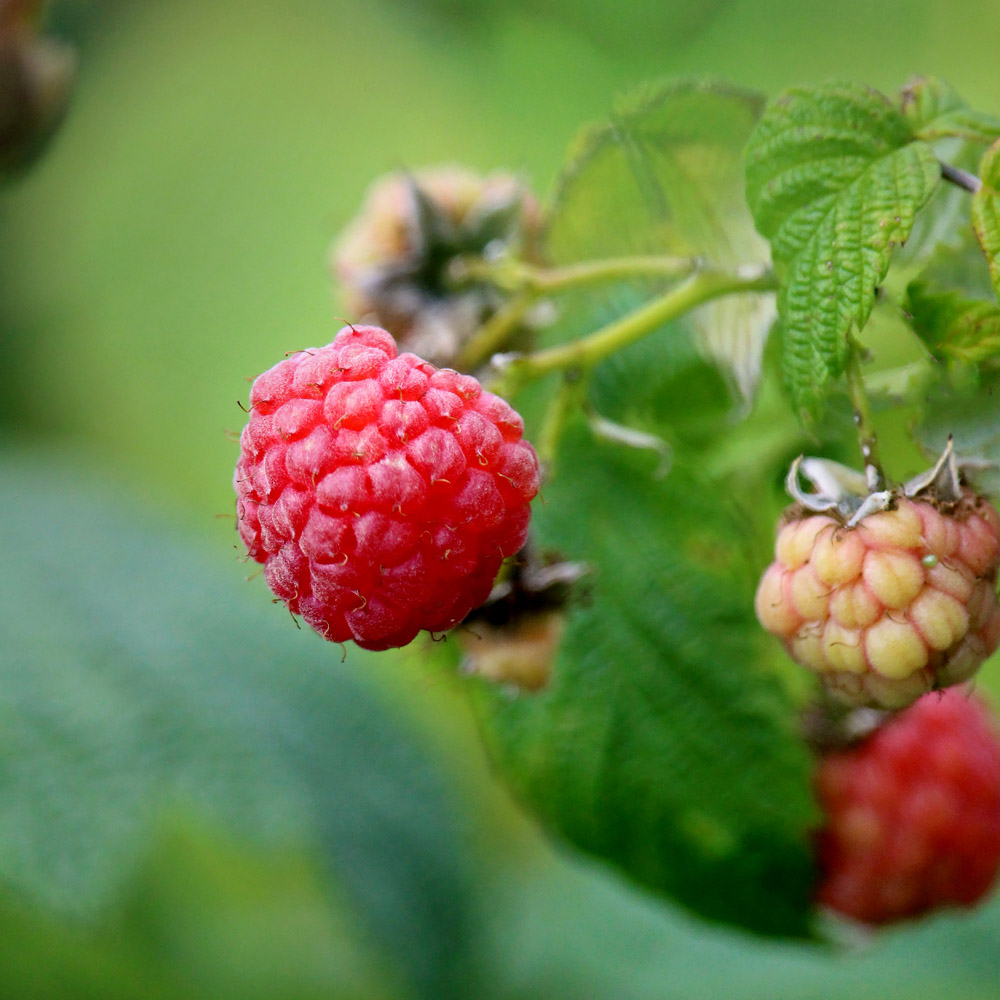
- Raspberries
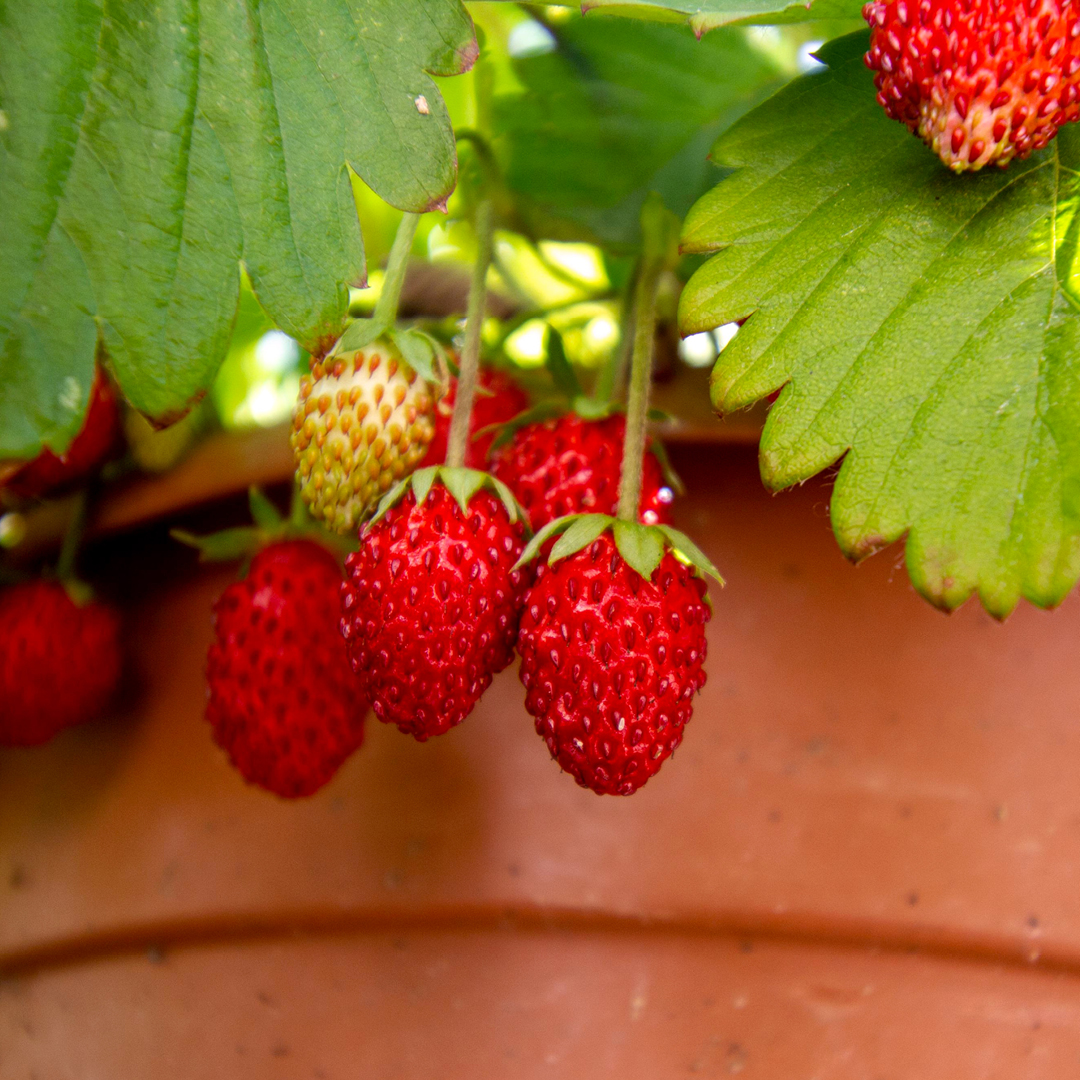
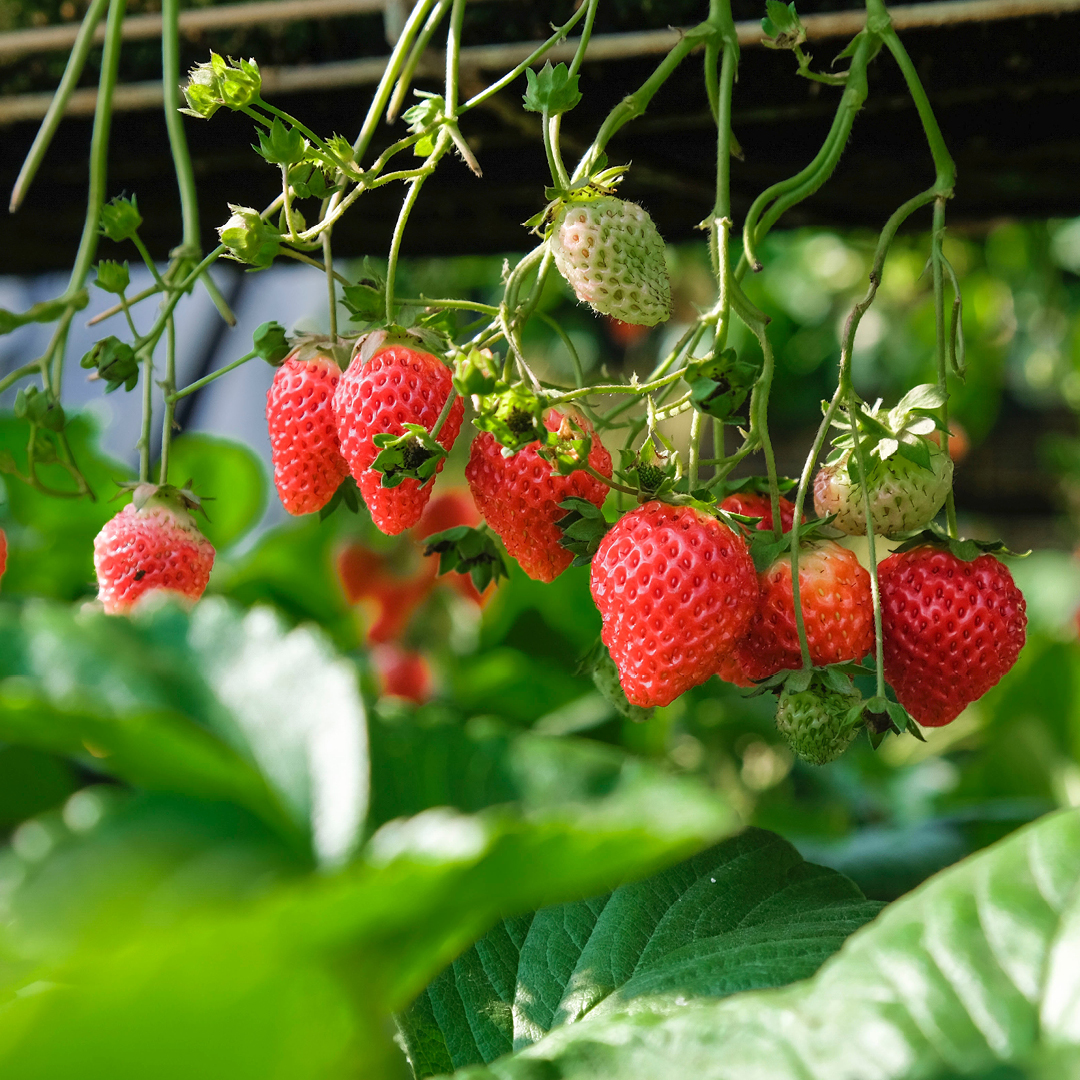
- Strawberries
The exact fruits that will do well in your space will vary depending on your gardening zone and climate conditions. Pay particular attention to the number of chill hours fruits may need in order to produce, as this is critical to ensure a good harvest. Depending on the type of plant and its needs, you may even be able to move your gardening efforts indoors and cultivate some fruit plants without any outdoor gardening space at all!
Tips for Urban Garden Fruits
There are different ways to ensure your fruit plants, bushes, trees, and vines thrive in your unique space. To encourage the best growth and healthiest plants…
- Choose plant cultivars that are self-pollinating and don’t require multiple plants in order to produce fruit.
- Opt for berry cultivars that are everbearing or repeat-bearing to extend the harvest and get the most fruit from the fewest plants.
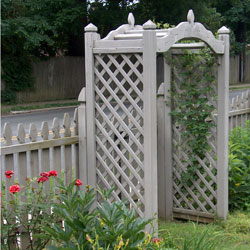
- Provide adequate support with trellises, arbors, pergolas, or other structures that are sturdy enough to handle the mature plants’ size and the fruits’ weight.
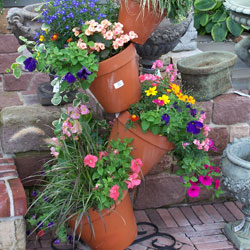
- Create layers of gardening space by using hanging pots and vertical structures that will give you even more room for planting.
- Use plant stands on casters so you are able to move sun-loving plants around to take advantage of shifting light angles and maximize the plants’ productivity.
- Choose dwarf or super-dwarf tree varieties that will not only thrive in smaller spaces but will also produce fruit when younger, so your first harvest is not delayed.
- Dwarf fruit trees are perfect for espalier against a sunny wall.
- Take steps to encourage bees and hummingbirds in your garden to aid pollination and keep your plants productive.
- Use netting, reflectors, or other tactics to discourage birds that may raid your harvest even before the fruit has fully ripened.
- Be alert for pests that may threaten your plants’ health and productivity, as they can find their way into any garden space – even indoors.
Growing fruit in the urban garden can be a tasty and enjoyable pastime, so long as you opt for fruits that will do best with the resources your space provides. By making the most of your space, you’ll easily have a fruitful harvest for all your favorite fresh fruits, homemade jams, preserves, sweet salads, baked goods, and other treats.