Author Archives: GCSDev

Crape Myrtles

No yard or landscape should be without a crape myrtle, or two, or three or… many! How wonderful to have something that blooms so profusely during that time of year when most other plants are looking tired and worn from the summer heat and drought. The versatility of this plant makes it suitable for many types of yards and many uses, and once established, they will go on to add charm and delight to the landscape for many years.

About Crape Myrtles

Crape myrtles bloom in late summer and can be found in flower colors of pinks, lilac, white, reds and purples. Requiring very little maintenance once established, crape myrtles need a full sun location to thrive and they do not like wet feet. Keep these needs in mind when selecting a site to plant them. They will require some supplemental watering for the first year or so to get off to a good start and develop good roots. Crape myrtles are also pretty much pest-free, except for aphids on occasion and these are easily controlled with an insecticidal soap spray. Some varieties are more susceptible to powdery mildew than others but most of the newer varieties are more resistant to this fungus problem.

Planting Crape Myrtles

Although tolerant of a wide range of soil qualities, crape myrtles grow poorly in wet locations so be sure to select a well-drained planting site. Late spring to early summer is the best time to select and plant your new crape myrtles while they are actively growing and can settle in quickly. Plant at or slightly above ground level, spreading the roots out slightly and using mulch to protect and shelter the roots after planting. They do prefer a slightly acid soil.

Crape Myrtle Types

Crape myrtles can be found in shrub, multi-stem tree and single trunk tree forms. For best results select a cultivar whose growth characteristics and ultimate mature size fit your intended use. Planting a shrub- or tree-like crape myrtle in an area of limited space will require yearly pruning to keep it from outgrowing its place. Single- or multi-stemmed tree-form crape myrtles are ideal as flowering specimen trees or as small, flowering shade trees near patios, walkways and entrances. Shrub forms make an excellent accent in a shrub border when planted in groups. Dwarf plants are effective as large groundcovers, perennial bedding plants or container plants providing vivid, summer-flowering interest.

Pruning Crape Myrtles

If adequate room is provided, little pruning is required except to maintain shape or remove any dead or crossing branches. Remove any suckers or water sprouts to maintain tree forms and elegance. Blossoms are produced on new growth so you can prune anytime the plants are dormant through the winter.

With so much to love about these plants, there’s no reason not to add one to your yard this year! And next year, and the year after that, and the year after that…

Top Native Shrubs for Year-Round Interest

We just love incorporating natives into the home landscape, and it’s easier to do than many gardeners realize. Including native plants is an important part of sustaining local pollinators and wildlife. Furthermore, native plants are naturally lower maintenance and pest-resistant, and wow, are they beautiful!

Favorite Native Shrubs

It’s easy to find native shrubs to provide interest in the garden the whole year through, from fresh spring growth to brilliant summer blooms to outrageous autumn foliage to stunning winter structure. Our list offers outstanding selections that will do well in a variety of moisture levels, soil types and sun exposures. Cultivars of these species offer variations in size, form, leaf color and shape as well as flower colors.

  • Sweet Pepperbush (Clethra alnifolia)
    Deciduous shrub, 3-8 feet high x 4-6 feet wide. Fragrant white blooms in July to August. Full sun to part shade, but will tolerate heavy shade. Moist to wet soil, tolerates erosion and clay soil. Use as a hedge, to naturalize or in rain garden. Attracts butterflies.
  • Sweetfern (Comptonia peregrina)
    Deciduous shrub, 2-5 feet high x 4-8 feet wide. Insignificant flower, ornamental and fragrant leaf. Full sun to part shade. Medium moist soil preferred, but also drought tolerant. Use to naturalize or in rain gardens.
  • Silky Dogwood (Cornus amomum)
    Deciduous shrub, 6-12 feet high x 6-12 feet wide. Yellowish-white flowers in May to June followed by showy fruit. Full sun to part shade. Medium to wet soil. Deer tolerant. Good for erosion control. Use as a hedge or in a rain garden. Attracts birds.
  • Winterberry (Ilex verticillata)
    Deciduous shrub, 3-12 feet high x 3-12 feet wide. Showy red fruit in the winter. Full sun to part shade. Medium to wet soil and tolerates clay soil. Tolerates air pollution. Controls erosion. Use as a hedge or in a rain garden. Attracts birds.
  • Mountain Laurel (Kalmia latifolia)
    Broadleaf evergreen, 5-15 feet high x 5-15 feet wide. May-blooming with rose to white flowers with purple markings. Sun to part shade. Medium moist soil. Deer and rabbit tolerant.
  • Spicebush (Lindera benzoin)
    Deciduous shrub, 6-12 feet high x 6-12 feet wide. Fragrant greenish-yellow, flowers and showy fruit. Part shade but can tolerate heavy shade. Medium soil moisture and drought tolerant. Deer tolerant. Can grow in clay soil. Attracts birds and butterflies.
  • Northern Bayberry (Myrica pensylvanica)
    Deciduous shrub, 5-10 feet high x 5-10 feet wide. Showy fruit in the winter. Full sun to part shade. Dry to medium soil moisture. Use as a hedge, naturalize or in a rain garden. Attracts birds.
  • Pinxterbloom Azalea (Rhododendron viscosum)
    Deciduous shrub, 3-5 feet high x 3-5 feet wide. Blooms white to pale pink in May to July. Part shade. Medium to wet soil moisture. Very ornamental and good as a cut flower. Tolerant of rabbits. Attracts hummingbirds and butterflies.
  • American Cranberry Bush (Viburnum opulus ‘americanum’)
    Deciduous shrub, 8-12 feet high x 8-12 feet wide. White lacecap flowers in April to May. Edible fruit. Full sun to part shade. Medium soil moisture. Use as a hedge or in the shrub border. Attracts birds and butterflies.

If none of these suggestions quite meet your preferences for a year-round native shrub, stop in to see our experts for more tips and options – new species and cultivars are always arriving!

top-native-3top-native-1

top-native-2

Protecting Our Pollinators

Every garden requires pollinators, and bees are among the finest. Without them there would be limited flowers and far fewer fruits and vegetables. Did you know that about 30 percent of the food we eat depends on the pollination of bees, including onions, cashews, coffee, carrots, chocolate and vanilla? If we don’t protect these prolific pollinators, our landscapes, gardens and diets will be irrevocably changed.

About Bees

Although there are many bees that are great pollinators, like carpenter, mining, sweat and cellophane bees, some of the most well known and easily identified bees are the honeybee and bumblebee. Both of these bees live in social colonies and are cavity nesters. Because these bees are active all summer long, they require a constant supply of floral nectar close to their hive and they thrive in flower gardens, orchards and other areas with abundant blooms.

Unfortunately, both these types of bees – along with many others – are disappearing rapidly, and two key threats are to blame.

  • Habitat Loss: As more natural habitat is lost to development, there are fewer nesting locations and inadequate food supplies for bees. While meadows developed into resorts and parks disappearing for strip malls are obvious examples of development, other less visible developments that can hurt bees include widespread use of flower cultivars that do not produce adequate nectar, eliminating critical bee food sources.
  • Pesticide Drift: Widespread, abundant spraying of pesticides to protect crops, lawns and parks can inadvertently hurt bees. Stronger pesticides can kill bees directly, while less potent toxins can contaminate nectar and will gradually build up to fatal levels in bees’ systems. Even if pesticides are not sprayed in areas where bees are abundant, high level spraying can easily be spread by wind patterns into critical bee habitats.

Inviting Bees to Your Garden

Fortunately, it is easy to bring more bees to your garden and encourage healthy bee populations. To support local bees…

  • Planting a variety of flowers that will bloom throughout the entire summer to provide ongoing food supplies.
  • Opt for native flower varieties that will be more easily recognized and used by bees, instead of introduced flowers that are less familiar.
  • Eliminate chemical use in your yard, as much as possible, including on your lawn, garden and trees, especially while plants are in flower.
  • Provide bees a safe place for shelter and to lay their eggs. A wood pile is suitable, or you can invest in a specialized bee house.
  • Make sure that there is an available water source for your bees. A bird bath or any simple water basin works just fine.

Want to bring bees to your yard and help them feel at home? Start with this list of native plants bees love, and ask our experts for more tips about keeping your lawn and garden bee-friendly!

Native Plants That Attract Bees

  • Apple (Malus)
  • Aster (Aster)
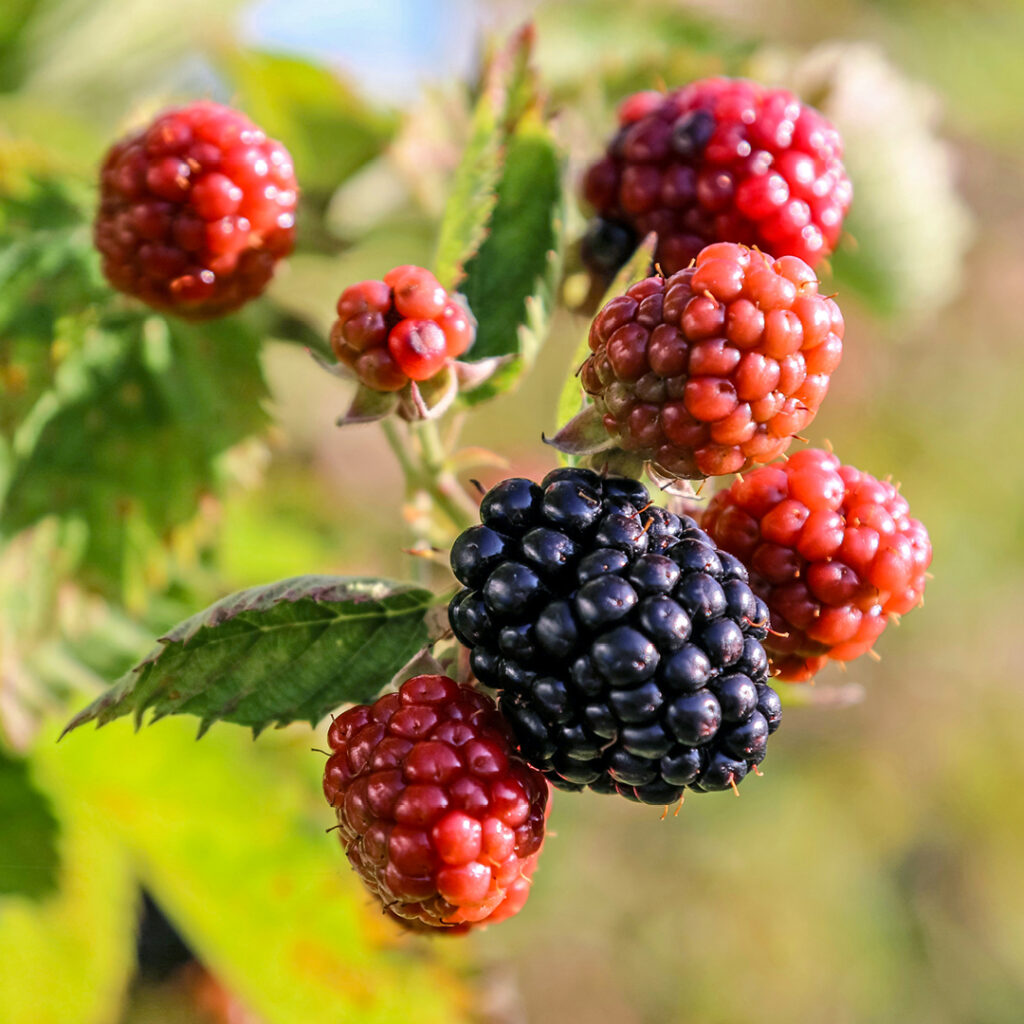
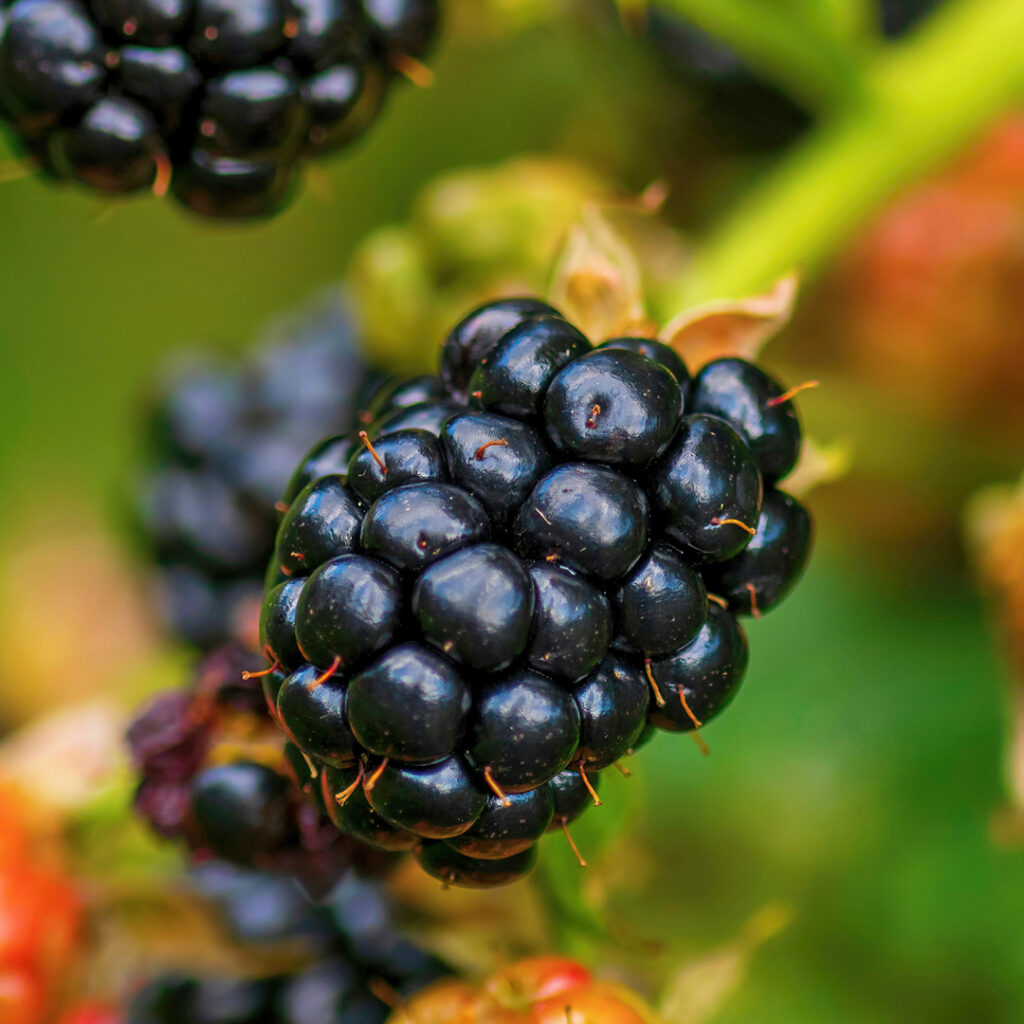
  • Blackberry & Raspberry (Rubis)
  • Black-Eyed Susan (Rudbeckia)
  • Blueberries (Vaccinium)
  • Currant (Ribes)
  • Elder (Sambucus)
  • Goldenrod (Solidago)
  • Highbush Cranberry (Viburnum)
  • Joe-Pye Weed (Eupatorium)
  • Lupine (Lupinus)
  • Penstemon (Penstemon)
  • Purple Coneflower (Echinacea)
  • Redbud (Cercis)
  • Rhododendron (Rhododendron)
  • Sage (Salvia)
  • Stonecrop (Sedum)
  • Sunflower (Helianthus)
  • Willow (Salix)

bee_2bee_3

bee_1

Shrubs for Summer Color

Many gardeners assume that the brightest flowers are only seen in spring, but there are many stunning shrubs that have great color all through the summer. Some feature outstanding blooms while others have equally showy foliage and can brighten up any yard. But which will look best in your yard?

Top Summer Color Shrubs

There are a number of tried-and-true summer-flowering shrubs that never fail to be impressive. Consider these favorites to enhance your landscape all summer long.

  • Hydrangea
    This very popular mounding shrub is an old-fashioned favorite, but it doesn’t have to be just your grandmother’s shrub – there are hydrangeas for every situation and taste. Flowers appear in early summer and can last for several weeks. Choose from pink, blue (use an acidic fertilizer to maintain this unusual color) or white blooms. Large flower heads great for drying or make outstanding arrangements and bouquets when cut. These shrubs do best in light shade or sun. One of the easiest hydrangeas to grow is the native American oak-leafed hydrangea has lobed leaves with fragrant, conical-shaped flower heads.
  • Butterfly Bush (Buddleia)
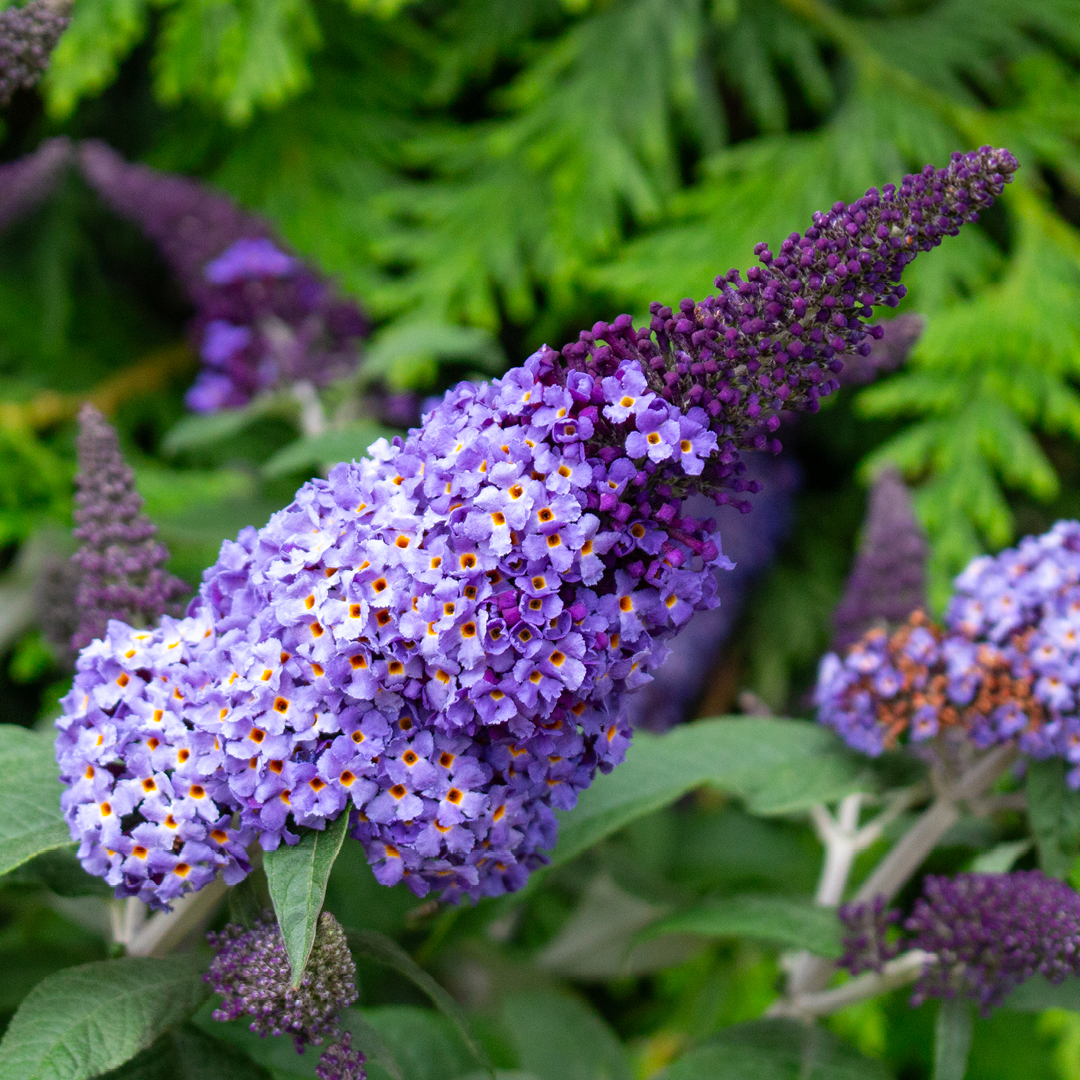
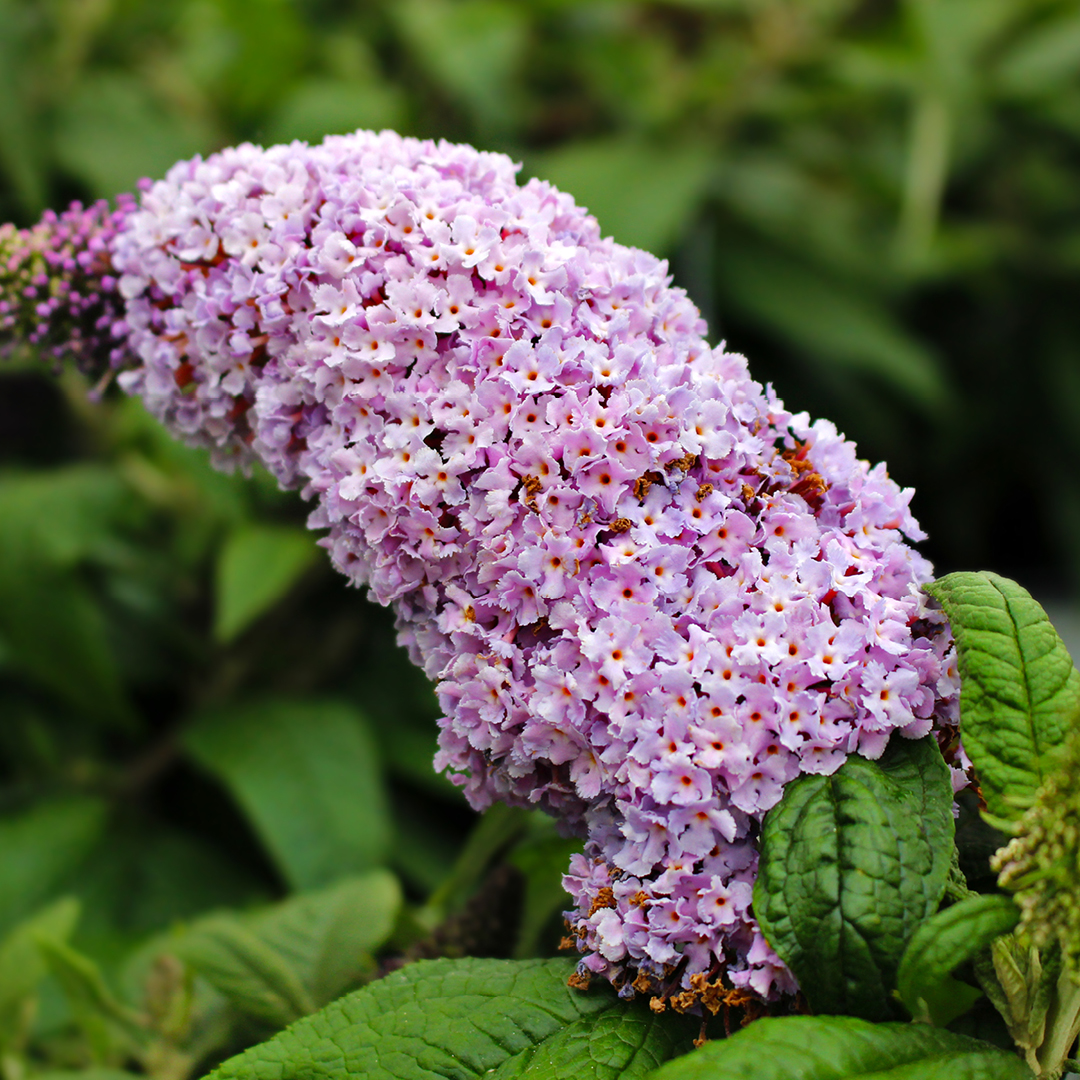
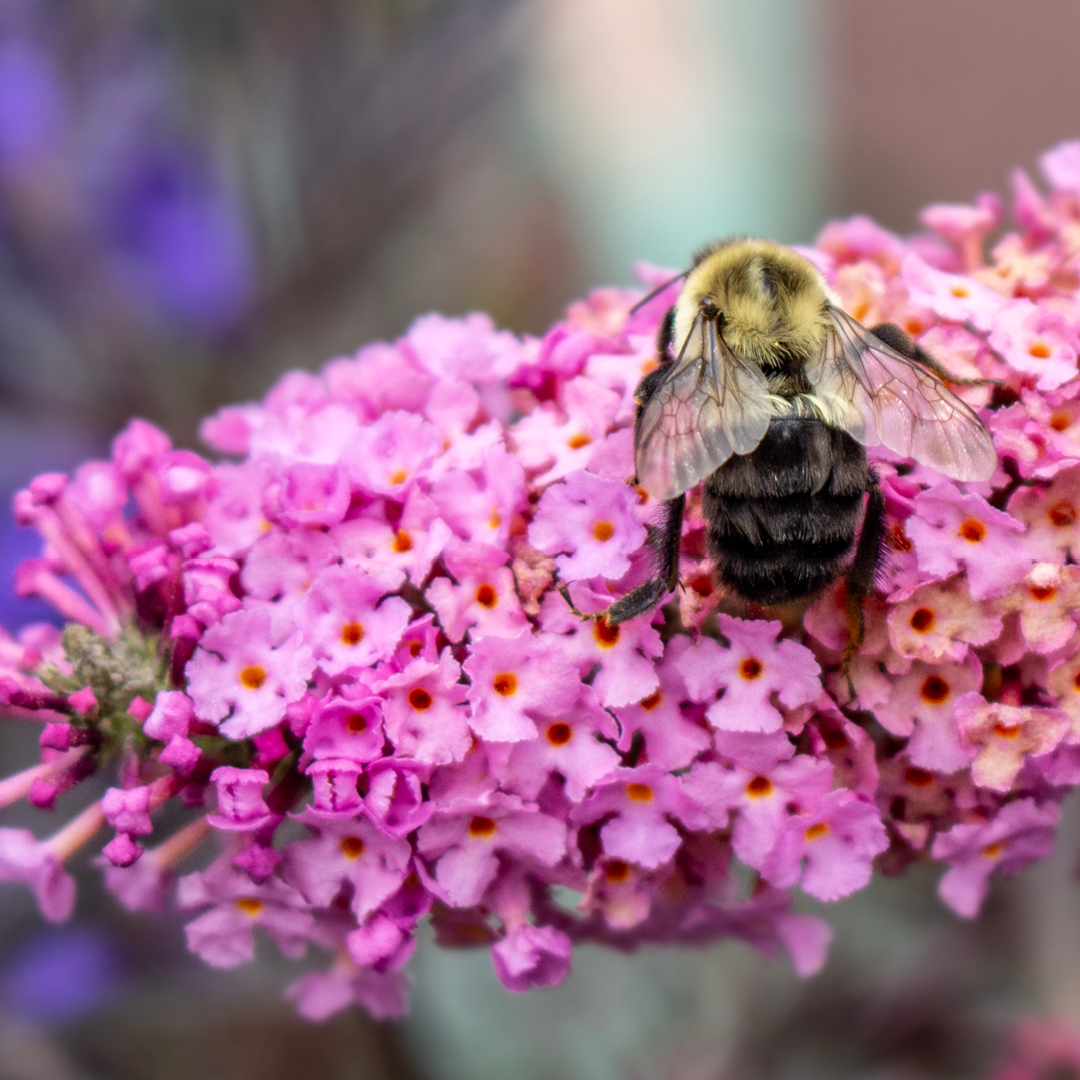
    This dramatic shrub is truly a butterfly magnet, and hummingbirds love it as well. One of the most fragrant flowering shrubs, butterfly bush blooms from early summer to autumn frost, and different varieties can thrive in a wide range of growing zones. The flowers can be pink, purple, blue, yellow or white, and often feature elegant spiked panicles, arching branches and interesting foliage. These shrubs do best in full sun and come in different sizes to suit different landscaping areas.
  • Spirea
    A generally low-maintenance choice, this shrub features golden yellow to lime-colored foliage all summer with pink or lavender blooms in late spring through summer. Goldmound, Gold Flame and Anthony Waterer are all great cultivars and easy care shrubs growing to about 2-4’ by 3-5’. This truly is the perfect shrub to use anywhere in the landscape, and it can tolerate sun to part shade growing conditions.
  • Rose of Sharon (Hibiscus)
    This is one of the showiest plants of the summer, and Rose of Sharon is also one of the easiest to grow. Dense growing and upright when young these shrubs will spread with age, so take care to plant them in appropriate spaces to avoid overcrowding. The dark green foliage contrasts nicely with large, showy flowers that can be up to 4” across. Flowers open in July and will continue blooming through late summer and into fall. Flowers are sterile, eliminating seed problems. This shrub is ideal to plant as a screen, hedge or focal point in full sun.
  • Blue Mist Spirea (Caryopteris)
    This shrub is a great plant for late summer color with bursts of purple-blue flowers just when many other plants are growing dull. Its low-growing, mounding habit reaches 2-3’ wide by 2-3’ tall. Blue Mist Spirea is easy to grow and can tolerate some neglect. It should be planted in full sun, and will bloom from summer to fall.

With any of these shrubs in your yard, your summer landscape can be just as colorful and eye-catching as any spring flowers or autumn foliage.

summershrub2

summershrub3

summershrub1

Summer Watering Tips

As the days heat up, watering can become a dreaded garden chore and too many gardeners use wasteful techniques that use plenty of water but don’t give their plants the moisture they really need. Make watering plants easier and more efficient with the proper practices and tools…

  • Mulches not only make plantings look more attractive, but their most important functions are to help retain soil moisture and minimize weeds, which would also usurp moisture from your plants. Mulch around plants to a depth of 2-4 inches, refreshing mulch as needed to maintain that depth and attractiveness.
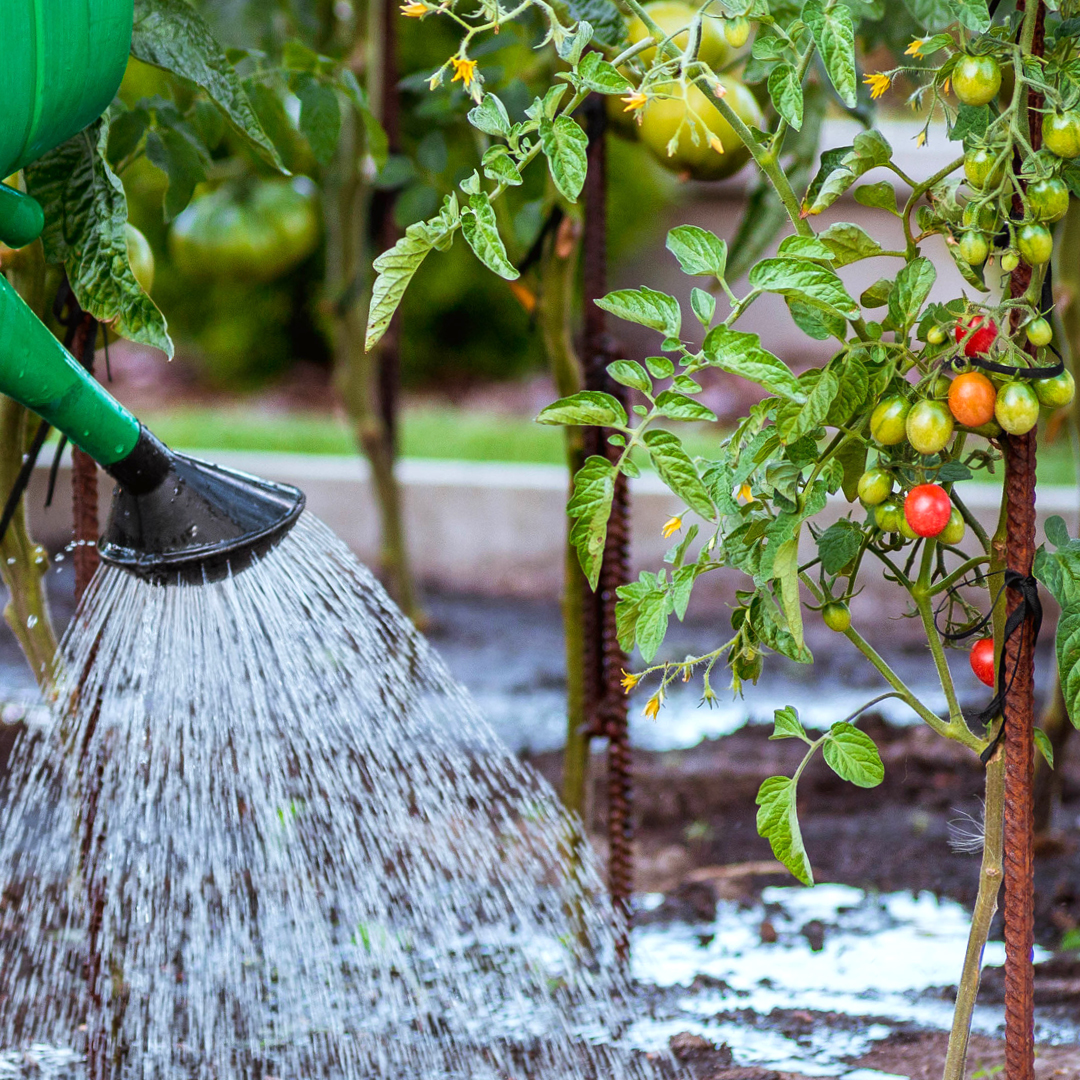
  • Watering cans and small containers work great for spot watering plants with different watering needs by hand. You don’t always need to get out a hose or sprinkler to get the watering done.
  • Check to make sure that you have the proper length hose(s) to reach every corner of your garden. Take into account any obstacles in the way, and be sure you aren’t dragging the hose over any delicate plantings to reach more distant dry spots.
  • Add a water wand to the hose to get the water where it’s most needed – the base of the plants – without needing to bend over repeatedly, which can cause back strain.
  • The best time to water is during the early morning hours of a sunny day. This will allow plants to absorb more water before it evaporates when temperatures rise, but won’t leave water to sit on plants overnight when mold can develop.
  • Always water plants and container gardens thoroughly and deeply to encourage deeper, more drought-tolerant root systems. It is better to water less frequently but more deeply rather than more often but with less water.
  • In the landscape, a good rule of thumb is to provide an inch of water per week minimum. Keep track of precipitation with a rain gauge to avoid wasting water by overwatering when Mother Nature does the job.
  • New individual plants that are set out, direct sown seed beds, sodding, etc. often require daily care, including watering, until established. Check moisture levels carefully during this period so the plants are well cared for.
  • Use soaker hoses to provide slow drip watering. This allows plants to absorb water easily without wasting water by evaporating from foliage or spraying into the air. Soaker hoses can even be layered beneath mulch to preserve as much moisture as possible.
  • Pay extra attention to plants in containers and hanging baskets as they tend to dry out faster and with greater frequency. These plantings will likely need to be watered daily or even multiple times a day during heat waves.
  • Place Tree Gators, a drip irrigation bag, on newly planted trees for slow, steady watering that will soak down to the root system without draining away along the surface of the soil.

If you’ll be away on an extended vacation, or even just for a few days, make arrangements with a trusted friend or neighbor to “plant sit” while you are gone. There’s nothing worse than worrying about your garden while you’re away – except coming home to crisp plants that haven’t been watered properly!

wisewatering1

wisewatering1

Bringing Butterflies to the Backyard

In spring, female butterflies will be mostly concerned with finding their species’ specific host plants on which to lay fertilized eggs. Instinctively, they know they must find plants to ensure that their caterpillars will have appropriate food for survival after hatching. Both male and female butterflies will be looking for flowers with nectar for their own survival. And, they will be searching for shelter from rainy or windy weather, a sunny place for basking, and a source of water. Because many natural butterfly habitats in North America are disappearing at an alarming rate, it is becoming increasingly difficult for butterflies to find these necessities of life.

Starting a butterfly garden can be simple and rewarding if you follow these pointers. The most important thing you can do as a gardener is to plant both nectar and host plants in your garden. Providing host plants for caterpillars to feed on, will allow you to watch the metamorphosis from caterpillar to chrysalis to butterfly. So, do not discourage caterpillars. They may make your garden plants look bad but it’s usually only temporary. Most important – do not use pesticides! You may be killing off the very insects you made the garden for. And, you don’t have to have a large area to get a response. Just a few select plants will spur some action. Choose the sunniest spot possible for your butterfly garden. It could be any size or shape; even a short border will work. A combination of woody shrubs, perennials and annual flowers works best, but using just a couple of plants can still yield results. Planting a section of wildflowers is an easy way to cover a problem area and lure some butterflies to your yard. If you don’t have the room for a garden, fuchsia, petunia or impatiens hanging baskets will attract butterflies as well as hummingbirds.

The following is a list of plants that attract butterflies:

Woody shrubs:

  • Glossy Abelia
  • Butterfly Bush
  • Japanese Privet
  • Honeysuckle
  • Weigela
  • Spiraea
  • Lilac
  • Deutzia
  • Trumpet vine

Perennials:

  • Achillea (Yarrow)
  • Butterfly Weed
  • Aster
  • Shasta Daisy
  • Cosmos
  • Carnation
  • Coneflower
  • Joe-Pye weed
  • Sunflower

Annuals and Tender

Perennials:

  • Heliotrope
  • Lantana
  • Rosemary
  • Marigolds
  • Petunias
  • Geraniums
  • Snapdragons
  • Portulaca
  • Zinnias
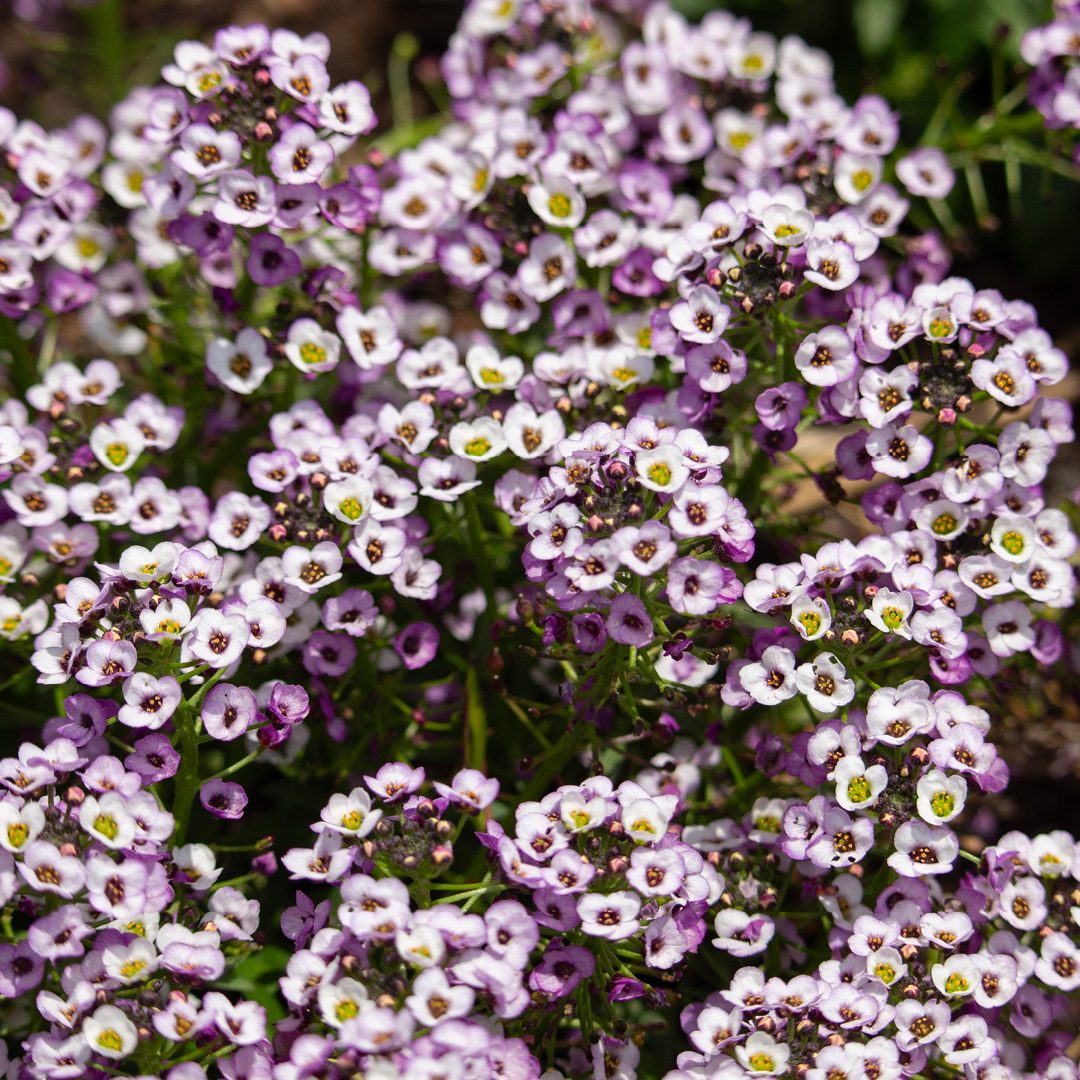
  • Allysum
  • Fucshia
  • Vinca
  • Balsam
  • Dahlia
  • Impatiens
  • Salvia
  • Verbena
backyard-butterfly-1

backyard-butterfly-2

backyard-butterfly-3

Dealing With Drought

Because plants require moisture to grow and thrive, your garden will probably suffer during periods of low rainfall and intense heat. Insufficient soil moisture will result in smaller flowers and fruit, stunted plant growth, decreased root development and increased plant disease and insect damage. Fortunately, there are many things that you can do to minimize the impact of drought on your garden.

Save Your Soil

Soil is like a sponge that holds and releases all the ingredients that your plants need to survive. Soils that drains quickly, such as sandy or rocky soil, will speed up and increase the effects of drought as water flows away from plant roots. The best way to correct this problem is to amend your soil with organic matter. Amending your soil adds to its moisture retaining ability, adds nutrients essential for plant health and increases soil aeration for ease of root growth. Good choices include:

  • compost
  • composted manure
  • composted or shredded leaf litter
  • mushroom soil
  • dried grass clippings
  • earthworm castings

First, amend soil immediately around plants, in landscaping beds and in the garden, but aim to amend all your soil and lawn eventually to improve its condition and drought-resistance.

Choose Drought-Tolerant Plants

Drought-tolerant plants are adapted to grow well in regions of low rainfall. These plants require minimal water to survive. When planting, try to group plants with the same water requirements together in an area best suited to their tolerance. Plants best adapted to dry conditions include:

  • locally native plants
  • plants with deep taproots
  • plants covered with hair
  • tiny leaved plants
  • succulents and cacti

Swapping out just a few water-hogging plants for more drought-tolerant options in your landscape can have a remarkable impact on saving water and still having a lush garden.

Use Drought-Friendly Watering Techniques

During a drought, you will need to water your garden, flowerbeds and lawn more thoughtfully to keep them well-watered but without waste or excess evaporation. The best way to water a garden is by drip irrigation or a soaker hose. Soaker hoses allow deep watering without runoff. Moisture goes directly into the soil where every precious drop can be absorbed by plant roots. With conventional overhead watering methods, about 35 percent of the water used is wasted due to evaporation. Time saving tip: Install a timing device with a moisture sensor to automatically turn your irrigation system on and off as required relative to any rainfall.

Sprinklers should be used primarily for lawns. Newly seeded or sodded areas must be watered daily during the summer months until established, then frequently through the first growing season. Rain gauges are good for checking the amount of rainfall or for sprinkler placement. Lawn Tip: Do not cut lawns shorter than 3” in the summer. This will shade the soil surface to allow the soil to remain cooler. Also, use a mulching mower to return moist clippings to the soil.

Containers and hanging baskets should be checked for watering every day. Watering wands are used for watering containers and hanging baskets, as they give a gentle spray without splashing the soil. Container Tip: When planting your pots and hanging baskets, incorporate moisture retaining polymers into the soil. When the soil starts to dry it will pull from this reserve.

Make Use of Mulch

After watering, you will want to conserve as much soil moisture as possible. Place at least 2-4 inches of mulch on the soil surface in the planting bed. Mulches help prevent soil moisture evaporation and reduce surface runoff, as well as minimizing weeds that would compete for any available moisture. Ideal mulches include:

  • wood chips
  • shredded bark
  • pine needles
  • grass clippings
  • decorative rocks
  • synthetic mulches

With some thoughtfulness about your plants’ watering needs and how to meet those needs, it’s easy to deal with drought conditions without sacrificing your plants.

Drought_4Drought_2

Drought_3

Low Light Houseplants

Plants brighten up any room, help clean the air and bring a bit of nature inside, but indoor spaces rarely have the same levels of bright, natural light many plants enjoy in their native habitats. Without adequate light, a plant’s foliage may be dull or turn yellow or brown, growth will be slow and flowers may fail to bloom. Choosing low light houseplants is an ideal solution for any indoor space, and there are many beautiful plants that can thrive in a dim environment.

20 Best Houseplants for Low Light

There are many reasons to opt for low light houseplants. Some rooms, such as bedrooms and bathrooms, generally have lower than average light levels. Some homeowners use window shades, blinds or curtains for temperature control, which reduces the light available for indoor plants. Even bright rooms may have dim corners or shadowed spaces where light isn’t as intense. The exposure of any window also affects the sunlight it brings indoors, with north and west windows generally having lower light than south and east windows. Changing seasons also changes how much sunlight comes through any window, with less light available to indoor plants in fall and winter. Fortunately, there are many outstanding houseplants that can grow well in lower light conditions. While the best plants for your home will also vary based on humidity conditions and the care you can provide, houseplants that don’t mind lower light include:

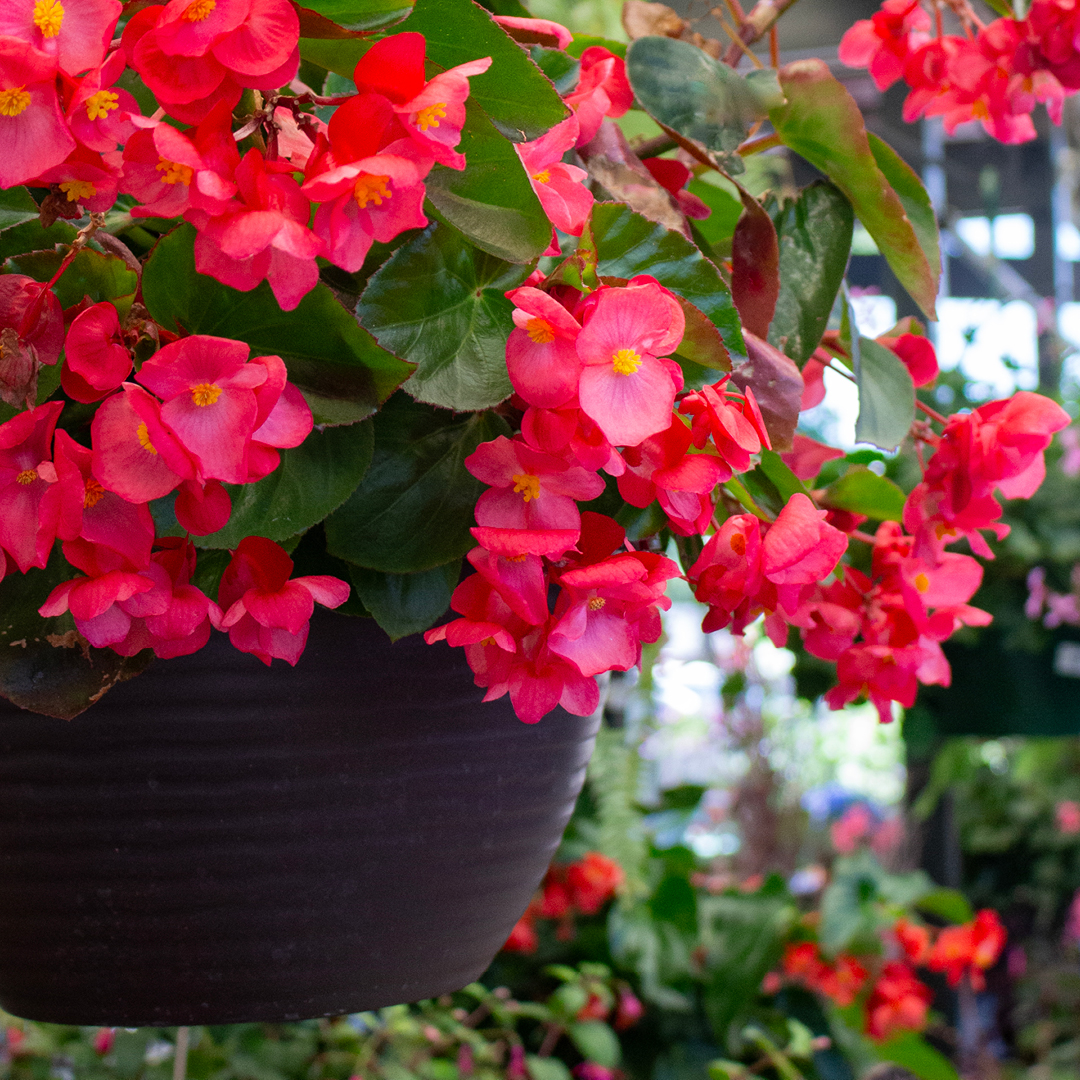
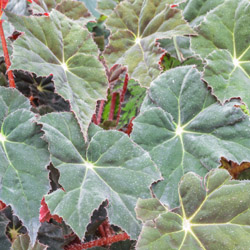
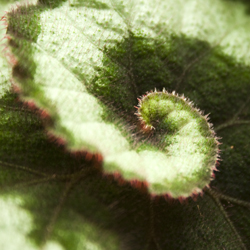
  • Begonia (Begonia)
  • Bromeliads (Aechmea)
  • Cast Iron Plant (Aspidistra)
  • Chinese Evergreen (Aglaonema)
  • Corn Plant (Dracaena fragrans)
  • Dumb Cane (Dieffenbachia)
  • Heartleaf Philodendron (Philodendron hederaceum)
  • Lucky Bamboo (Dracaena)
  • Maindenhair Fern (Adiantum)
  • Parlor Palm (Chamaedorea elegans)
  • Peace Lily (Spathiphyllum wallisii)
  • Peperomia (Peperomia)
  • Ponytail Palm (Beaucarnea recurvata)
  • Pothos (Epipremnum aureum)
  • Prayer Plant (Calathea)
  • Rubber Plant (Ficus elastica)
  • Snake Plant (Sansevieria)
  • Spider Plant (Chlorophytum)
  • Sword Fern (Polystichum munitum)
  • ZZ Plant (Zamioculcas zamiifolia)

These are just a few of the most widespread, popular indoor plants that can do well with lower light levels. Check at your local nursery or garden center for additional varieties that are adapted to your region’s climate, especially during the winter months when houseplants are much more widely available.

Caring for Low Light Houseplants

It is important to note that whatever type of houseplant you choose, a designation as “low light” does not mean the plant can thrive in darkness. All plants need some light, but low light plants can still thrive in indirect or filtered light rather than several hours of bright sunlight each day. To give your low light plant the very best indoor habitat, you will also need…

  • A proper pot or other container.
    The pot will need to be the right size for the plant and its anticipated growth, without being too big or too small. Adequate drainage is also essential to prevent root rot and other care difficulties.
  • Suitable soil or potting mix.
    Garden soil has too many contaminants to be good for houseplants, but choose a soil with good nutrition for the type of plant it will nurture. Add coir, peat or other potting material if necessary to adjust the soil composition.
  • Proper watering.
    Inadequate water or overwatering can both be deadly for houseplants. Know what water your plant needs and adjust the watering schedule based on the plant’s size and seasonal needs throughout the year. Watering gauges or automatic watering tools can help you be sure you aren’t drowning or drying out your houseplants.
  • Regular feeding.
    Because houseplants rely on the same soil and can’t stretch their roots out to seek extra nutrition, regular fertilizing is essential. Choose the proper fertilizer for the plant type and feed gently rather than risk burning delicate roots with overfeeding. Slow-release fertilizers formulated for indoor plants are one of the best options.
  • Increased humidity.
    Indoor air is often much drier than the air outside, and houseplants can dry out more quickly without the proper humidity. Adding a humidifier in a room with houseplants, grouping plants together, misting regularly and providing a humidity tray are all ways to help.
  • Occasional dusting.
    With no regular breezes to blow away debris, houseplants can become dull and dingy without being dusted, and dust can clog their pores. Use a soft, clean cloth to gently wipe the foliage, or give plants an occasional shower to rinse away unwanted dust.

Every home can be made brighter with houseplants, even in darker rooms where there wouldn’t seem to be enough light. By choosing the right low light houseplants and caring for them appropriately, even a shadowy corner of your home can be a restful bit of nature.

Variegated Solomon’s Seal

If you don’t already grow variegated Solomon’s Seal in your shade garden, this is the year to start. This charming, visually appealing perennial is similar to hostas, but has its own unique character that will add beauty, texture and interest to your landscape. Furthermore, it is deer-resistant, making it perfect for a yard that may lose a few too many plants to wandering wildlife.

About Variegated Solomon’s Seal

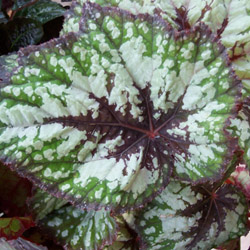
Variegated Solomon’s Seal (Polygonatum falcatum ‘Variegatum’) is a low-maintenance plant native to Europe and Asia. A landscaping favorite for its overall beauty and visual richness, it sports 2-3-foot tall gracefully arching, reddish or burgundy stems. The stems are lined with narrow green leaves streaked in pure white. Beneath the stems, in pairs, from late spring to early summer, drip tiny, fragrant, bell-shaped white flowers. In the autumn, small, round, black fruit replaces the flowers and leaves turn golden yellow. Overall, these clumping plants grow 2-3 feet tall and wide, making them a suitable size for many different landscape designs. As clumps grow, they can be divided every 2-3 years in spring to give you even more of these lovely plants to work with, or you can allow the colony to naturalize in your landscape for a lush carpet of foliage and flowers.
This plant is quite hardy and is not seriously bothered by either insects or diseases, though snails and slugs can be a problem. Leaf spot and rust are very rare problems and easily overcome with diligent care.

Variegated Solomon’s Seal in Your Landscape

These are versatile plants that can do well in any full or part-shade area of your landscape. Add Solomon’s Seal to a woodland garden or shady border, or beneath a broad, spreading tree. This is a great plant to anchor rain gardens, because it likes moist soils and is not overly sensitive to too much water. At the same time, it will also tolerate drought and drier soils, making it an ideal addition to add growth and greenery to rock gardens.

Variegated Solomon’s Seal can look stunning on its own, or adds even more texture and interest when planted with hostas and ferns or when filling in spaces between other shrubs or ornamental grasses. Plant it in fertile, moist, well-drained soil, preferably in fully shade or only minimal dappled sun. Amend the soil with compost as needed, especially while the plants are young. Water well until the plants are established, then enjoy the beauty as this low-maintenance wonder takes good care of itself.

Decorating for the Holidays

Whether your prefer a single candle in each window or a 12-foot tree covered with glittering decorations, our ideas will help you create a special home, from the simple to the dramatic! Try some new and stunning decorations this holiday season, including…

  • Garlands and Swags
    Graceful drapes of greeneries and ribbons are the perfect choice for mantles, doorways, arches and railings. Weave two coordinating ribbons around a swag for a stunning contrast, or attach cones, berries or dried or silk flowers with a dab of hot glue for a colorful burst. You might also weave a bead strand into a garland or swag for extra glamour.
  • Wreaths
    Classic wreaths can be stunning on doors, over mantles or on windows. They can be completed with a single bow or festooned with berries, trumpets or other decorations to match your décor. Whimsical wreaths may be made of candy or faux cookies, or you might tuck small gift boxes or other accents into the design.
  • Fresh Cut Greens
    Pine boughs and holly sprigs look and smell great, whether they are scattered on the mantle, tucked behind pictures or brimming from vases and baskets. Tie a bunch together with a big bow for a delightful, simple door decoration. When using in a vase, make a fresh cut at the base of greens before arranging and check the water often the first few days to keep them plump and fragrant.
  • Roping
    Simple ropes of pine, laurel, boxwood and princess pine look great along a fence, railing or light post. Add large, bold bows along the railing or fence with even larger bows at the base of the gateposts for an easy decoration and to bring the look together.
  • Ornaments
    Ornaments don’t just belong on trees anymore! Fill a tall, clear vase or glass pillar with colorful ornaments to display them elegantly, no tree required. For a more elegant look, use ornaments of just 1-2 colors, or ornaments only in coordinating shades and similar hues. You can also display ornaments in a broad open dish, around the base of a pillar candle or worked into a wreath or swag.
  • Treats
    Your favorite holiday treats can also be elegant decorations. String candy canes along a garland or arrange them in a vase for a sweet decoration. A gingerbread house can be a beautiful centerpiece, or fragrant gingerbread cookies can be attached to a garland or swag.  You can even add a dish of bright peppermints as a candle base or ribbon candies to a wreath.

No matter what your decorating style, there are creative and unusual ways you can add festive elegance to your home to celebrate the season.


Fresh Cut Trees

There’s nothing quite like a fresh, vibrant Christmas tree with its bold branches, crisp scent and natural charm. But which tree is right for your holiday décor? There are several popular tree species that can be ideal decorations.

Douglas Fir

  • This tree holds its dark green needles for a good while, making it an excellent choice for those who prefer to decorate their tree early or like to enjoy their tree into the new year. The soft branches and needles emit a faint lemon scent when rubbed. Douglas Firs have an airy open shape, great for lots of ornaments, garlands and lights.
  • Scotch Pine
    This tree has a beautiful bluish cast which gives it a bit of a frosted appearance, especially on lighter new growth. The needles are long and soft, giving the tree a bushier, fuller appearance even without quite as many branches. It has a wonderful pine fragrance reminiscent of the most classic holiday celebrations.
  • Fraser Fir
    This pine is an aristocrat among Christmas trees with its short grey-green needles and majestic shape. Typically, this tree stays fresh the longest with long needle retention, ideal for longer periods indoors. The branches have a more open shape, great for displaying stunning ornaments. Fraser firs have a delicate evergreen fragrance.
  • Concolor Fir
    This tree looks similar to a blue spruce in shape and color, but its needles are soft, rather than sharp, and have a fresh lemon scent. The branches are very sturdy and great for hanging ornaments, garlands, lights, candy canes and other decorations.

When Your Fresh Cut Tree Isn’t So Fresh

When Christmas is over and your tree starts to droop, you have many options to keep it useful. First, you can easily recycle your tree; many parks and towns sponsor tree recycling programs in January. If you live near a beach, there may be a program to install cut trees on sand dunes to help control erosion. If you prefer to use your tree at home, the boughs make perfect mulch for perennials and the trunk can also be chipped for mulch. Chunks of the trunk can even be made into simple bird feeders or similar garden crafts, or you can use the whole tree as an impromptu brush pile to provide protection and shelter for winter wildlife. You might even consider decorating your tree again using cranberry and popcorn strings, small birdseed ornaments and chunks of fruit to create a bird feeding station.

Fresh cut trees are amazing holiday traditions for many families, and there is a perfect tree type to suit your decorating preferences to make amazing holiday memories.


Outdoor Holiday Decorations

During the holidays we often spend a great deal of time, money and effort to decorate inside our homes, but why not continue that decorating outside? There are so many types of beautiful outdoor holiday decorations, you can make the exterior of your home just as distinctive and lovely for the season as the interior.

Containers

Large matching containers on either side of your driveway, walkway or front door make an elegant impression. Evergreen shrubs or small trees, gaily festooned with mini-lights, ornaments, bows and topped with a star are a welcoming sight for visiting friends and family. Consider holly or another plant with brightly colored winter berries. Neat and tidy camellias bloom during or soon after the holidays. The slow-growing, evergreen shrubs, Dwarf Alberta Spruce and the fragrant sarcococca will happily reside in containers for many years. Uplighting the container with solar powered lights eliminates power cord concerns and allows passersby to enjoy of your holiday décor during the evening hours.

Wreaths and Evergreen Garlands

Wreaths and garlands of fragrant greenery waft a holiday scent into the home every time the door opens. These are sold readymade as well as in bundles of greenery to make your own. Affix them to the front door, an entry banister or even draped along porch railings or entry columns for more elegance. Use bows, ornaments, seashells, fishing lures or whatever you fancy to coordinate the entry decoration with the house décor for a connected theme.

Fences and Gates

Whether you have a quaint picket fence, a rustic split-rail fence or an elegant wrought iron fence, you can decorate it. Swags of garland and greenery are quick and easy to add, and you can give them more color with strategically placed bows that not only hold up the greenery but accent it as well. Wrap a strand of lights along the garland so it will shine even in the darkness, or space out unbreakable ornaments to hang between posts. Swags of garland can also go along the top of a gate (be sure to leave an opening so the gate can be used), or opt for wreaths on the gate instead.

Driveways and Paths

Light up the lanes leading to your home by using solar-powered lights in holiday colors, or opt for themed lights to create a cheerful, whimsical holiday path. For a more elegant look, consider simple luminaries spaced regularly along an entry path, garden path, driveway or up a small staircase leading to your front door. Not only will the extra illumination be an elegant holiday look, but it can help give visitors a better view of the path to prevent slipping or tripping.

From inside to outside, have a happy holiday!


Cut Christmas Tree Selection and Care

A fresh cut tree can be a wonderful addition to your holiday décor as well as a treasured Christmas tradition. Unfortunately, with poor care a cut tree can be looking wilted and worn long before December 25, but if you know a few tricks, you can keep your tree looking vibrant and lush throughout the season. Extend the life of your cut tree this Christmas and enjoy the beauty of the season much longer! 

  • In selecting a tree, make sure the “handle” at the bottom is long enough to allow the trunk to fit into your tree stand. Otherwise, it will be necessary to remove large branches near the base, which could ruin its appearance, shape and visual balance.
  • Check the tree’s freshness before your purchase by bending, pinching or flexing needles. They should be somewhat pliable and not fall off easily. Avoid purchasing a tree that is already showing signs of dryness.
  • Make a fresh cut to remove 1/4″ to 1″ of wood from the base of the trunk before putting the tree in the stand. If you use a “center pin” stand, make sure the hole is drilled in the stem after the tree is trimmed.
  • Once home, place the tree in water as soon as possible within 6-8 hours after cutting the trunk. This will help the tree better absorb moisture to keep the needles plump and secure.
  • If needed, trees can be temporarily stored for several days in a cool location, such as a garage, before being taken indoors and decorated. Place the freshly cut trunk in a bucket full of water. The tree may need to be supported to keep it from tipping over.
  • To display the trees indoors, use a stand with an adequate water holding capacity for the tree. As a general rule, stands should provide 1 quart of water per inch of stem diameter.
  • Use a stand that fits your tree. Some stands have circular rings at the top, so the ring must be large enough for the trunk to fit through the hole. Other stands are open, which may allow a greater range in trunk size. Avoid whittling the sides of the trunk down to fit a stand. The outer layers of wood are the most efficient in taking up water and should not be removed.
  • Keep your tree away from sources of heat such as fireplaces, heaters, heating vents and direct sunlight, all of which can make it dry out more quickly. Lowering the room temperature will slow the drying process, resulting in less water consumption each day.
  • Check the stand daily to make sure that the level of water does not go below the base of the tree. With many stands, there can still be water in the stand even though the base of the tree is no longer submerged an unable to absorb water.
  • Apply Wilt-Pruf, an anti-transpirant, to branches to help prevent moisture loss and needle drop. This should be done as quickly as possible before decorating the tree.
  • Do not use additives in the water, including floral preservatives, commercial tree preservatives, molasses, sugar, bleach, soft drinks, aspirin, honey, etc. Clean water is all that is needed to maintain the tree’s freshness.
  • Miniature lights, particularly LEDs and other energy-efficient bulbs, will produce much less heat and reduce drying of the tree. Do not overload the tree with too many lights.
  • Always inspect light sets prior to placing them on the tree. If worn, replace with a new set. And, do not overload electrical circuits, fuses or circuit breakers.
  • Always turn off the lights when leaving the house or when going to bed. Minimize how long the lights are on, such as not leaving the lights on during the day when they are less visible.
  • Monitor the tree for freshness by bending or pinching needles to test their flexibility. After Christmas or if the tree is dry and brittle, remove it from the house.

With just a few common sense steps, you can find a lovely fresh cut tree and keep it beautiful throughout the holiday season.


Bloom Phalaenopsis, Bloom!

Elegant Phalaenopsis, or moth orchid, is said to be the easiest orchid to coax into bloom. Although this is true, you must first be aware of the basic needs of this plant in order to be successful in cultivating it.

Understanding how the moth orchid grows in its native environment is helpful in replicating optimal conditions at home. Phalaenopsis have thick roots and grow not in ground soil but above the ground on tree branches and rocks. They receive filtered sunlight under the jungle canopy and are accustomed to high tropical humidity. So, how do we imitate a jungle in our living room to coax these plants to bloom their best?

Light

Inadequate light is the most common reason that Phalaenopsis orchids fail to bloom.

Moth orchids prefer bright, indirect or filtered light. Too much direct light and this plant’s leaves will burn; not enough light and it will not bloom. In the summer, this is easy – we can place our houseplants outside in a location selected specifically for the plant’s light optimal requirements. Phalaenopsis flower spikes, however, begin to form in the late fall to early winter when sunlight in the Northern Hemisphere is not as bright and days are shorter. Place your orchid in a south or southwest-facing window with a sheer curtain between the window and the plant. This should be enough of a filter to prevent sunburn. If a southern exposure is not possible, consider supplementing the winter light with a full spectrum grow light.

Temperature

In nature, lower temperatures trigger Phalaenopsis to bloom. Leaving your moth orchids outside for at least two weeks in the fall is generally sufficient to initiate a bloom spike. Do not allow your orchid to experience temperatures lower than 58 degrees Fahrenheit, however, or the orchid will be damaged or may even die. After this short period of cooler temperatures, a room that is comfortable for people, between 65 and 75 degrees Fahrenheit, is best.

Soil

Orchid roots need oxygen to survive and should never be planted in soil. Often, Phalaenopsis orchids come planted in long fiber sphagnum peat moss. You must be very careful using this medium as it holds a great deal of water, which creates the perfect environment for root rot. The best growing medium for moth orchids is a quality orchid mix consisting of bark, perlite and charcoal. This mixture drains quickly yet holds adequate moisture for optimum root health. Bark, like all natural materials, breaks down over time and must be replaced with a fresh mixture every couple of years. Repotting should be done in late spring or early summer after blooming is complete.

Water

Orchid bark should be allowed to become almost dry, but never fully dry, before watering. To test, stick your finger into the planting mixture up to the first finger joint. Bark that feels almost dry at this depth should be watered. Hosing plants off in the bathtub or sink is a good way to water and allows you to rinse dust from plant leaves at the same time. Be mindful to drain any water that accumulates in the leaf crown after watering to prevent disease.

Humidity

Winter heat and summer air conditioning rob moisture from the air in our homes, which makes the environment more like a desert than a tropical rain forest. Low humidity can cause your orchid to abort its flower buds. Setting your orchids on humidity trays, grouping plants together and misting your orchids are all helpful methods in creating a more humid environment. You may also want to consider a humidifier in the same room as the orchids to promote an even more orchid-friendly environment.

Fertilizer

Phalaenopsis orchids should be fertilized regularly to promote plant health and good flowering. When the orchid is not in bloom, apply one-half the recommended dose of a complete fertilizer, 20-20-20, weekly or with each watering. During the winter months, reduce the frequency of fertilizing to once a month using a houseplant fertilizer labeled as a blossom booster at, again, one-half the recommended strength. Be certain to read the fertilizer instructions fully before using and never apply at a higher rate or with greater frequency than recommended as you may burn tender plant roots and perhaps kill your orchid.

Pruning

When your moth orchid has finished blooming, cut back the flower spike at the base. This will give your plant a rest and allow it to build up energy for its next bloom. You may also prune back to above a node in the flower spike, forcing the plant into a second bloom that will have smaller flowers and fewer blooms.

Once you understand the unique needs of Phalaenopsis, you may find these orchids even easier to grow than you’ve believed, and you’ll enjoy their beauty and distinctiveness all year long.

Holiday Tree for the Birds

Celebrate the season with your feathered friends by decorating a tree in your yard, or even one in a container, with special treats they’ll love.

Bird-Friendly Ornaments

There are several types of delicious “ornaments” birds will love, and they can be fun, easy projects to brighten up a winter day.

  • Pine Cone Feeders
    Pine cones are easy to turn into impromptu bird feeders. Gather some pine or spruce cones. Tie a loop of twine or colorful holiday yarn around the top to use as a hanger. Fill the crevices with peanut butter, then roll in bird seed or cornmeal.
  • Orange Halves
    Don’t toss out that orange rind – turn it into a bird feeder! Fill scooped out orange halves with a mixture of peanut butter, suet and seed. Poke a length of wire, yarn or twine through the top to attach to the tree. Coconut halves are another great option.
  • Bird Cakes and Muffins
    Make “bird cakes” to set in the branches: Melt 2 cups of suet in a saucepan. Mix in 2 cups of peanut butter and several cups of cornmeal, until the mixture is soft but not too sticky. Spoon mixture into muffin cups and decorate with black oil sunflower seed. Cool before using.

Great Garlands

What’s a holiday tree without garland? To make a bird-friendly, edible decoration, string unsalted, unbuttered popcorn on lengths of heavy-duty thread, twine or yard (avoid fishing line that birds can get tangled in too easily). For more color and variety, add whole peanuts, cranberries, grapes and raisins to the garland as well, or even a few loops of whole grain, unsweetened cereal such as plain Cheerios. You can even include other dried fruits, but avoid any seasoned or sweetened options (those foods aren’t good for birds). Weave your edible garland among the branches.

And Lastly, the Tree Topper!

Top your bird-friendly feeder tree with a grapefruit “star” the birds will love. Slice the ends off a grapefruit, leaving a 1″ slice in the middle (use the ends to fill with seed or peanut butter mixture, a larger version of the filled orange halves). Wire 5 cranberries around the edge of the slice to form the points of a star, trimming away the excess rind in between if desired. Then, wire the whole thing to the top of your tree.

Now stand back and watch as your feathered friends enjoy their holiday feast!