Winter Beauty in Your Landscape
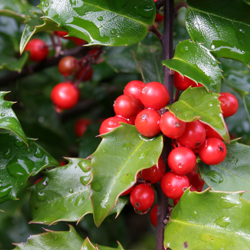
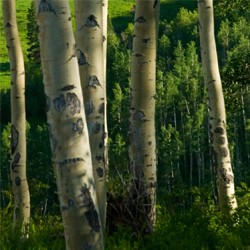
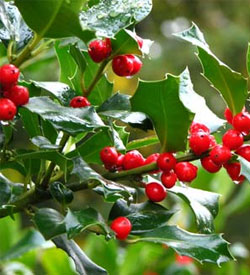
Winter is a time of special beauty and interest. Berries sparkle on shrubs under a layer of frost and ice, while other shrubs have shades of bronze leaves that cling and rattle in winter breezes. The leafless branches of larger trees cast dramatic shadows across the freshly fallen snow. Bark hidden by the leaves of summer stands out gorgeously in the winter. Barks of silvery gray, white, green, yellow, purple or red hues add a burst of color when the landscape is covered in white. Even barks that are deeply fissured, sleek as satin, peeling in thin layers or curiously pocked by a pitted surface give interest to a wonderful winter landscape. Dried grasses stand out in bright contrast against the backdrop of dark evergreens, shaking snow off their delicate heads. There is even the surprising yellow ribbon-like blooms of witch-hazel which flower in mid-winter or the delicate lavenders and blues of tiny species of crocuses under the snow. Pansies are also a great addition for late-season winter color in your flowerbeds. Everywhere you look, there can be beauty in the winter landscape.
Top Plants for Winter Interest
Many different plants offer interesting features that reach their full potential in the winter landscape. Popular options include…
- Paperbark Maple (Acer grisium)
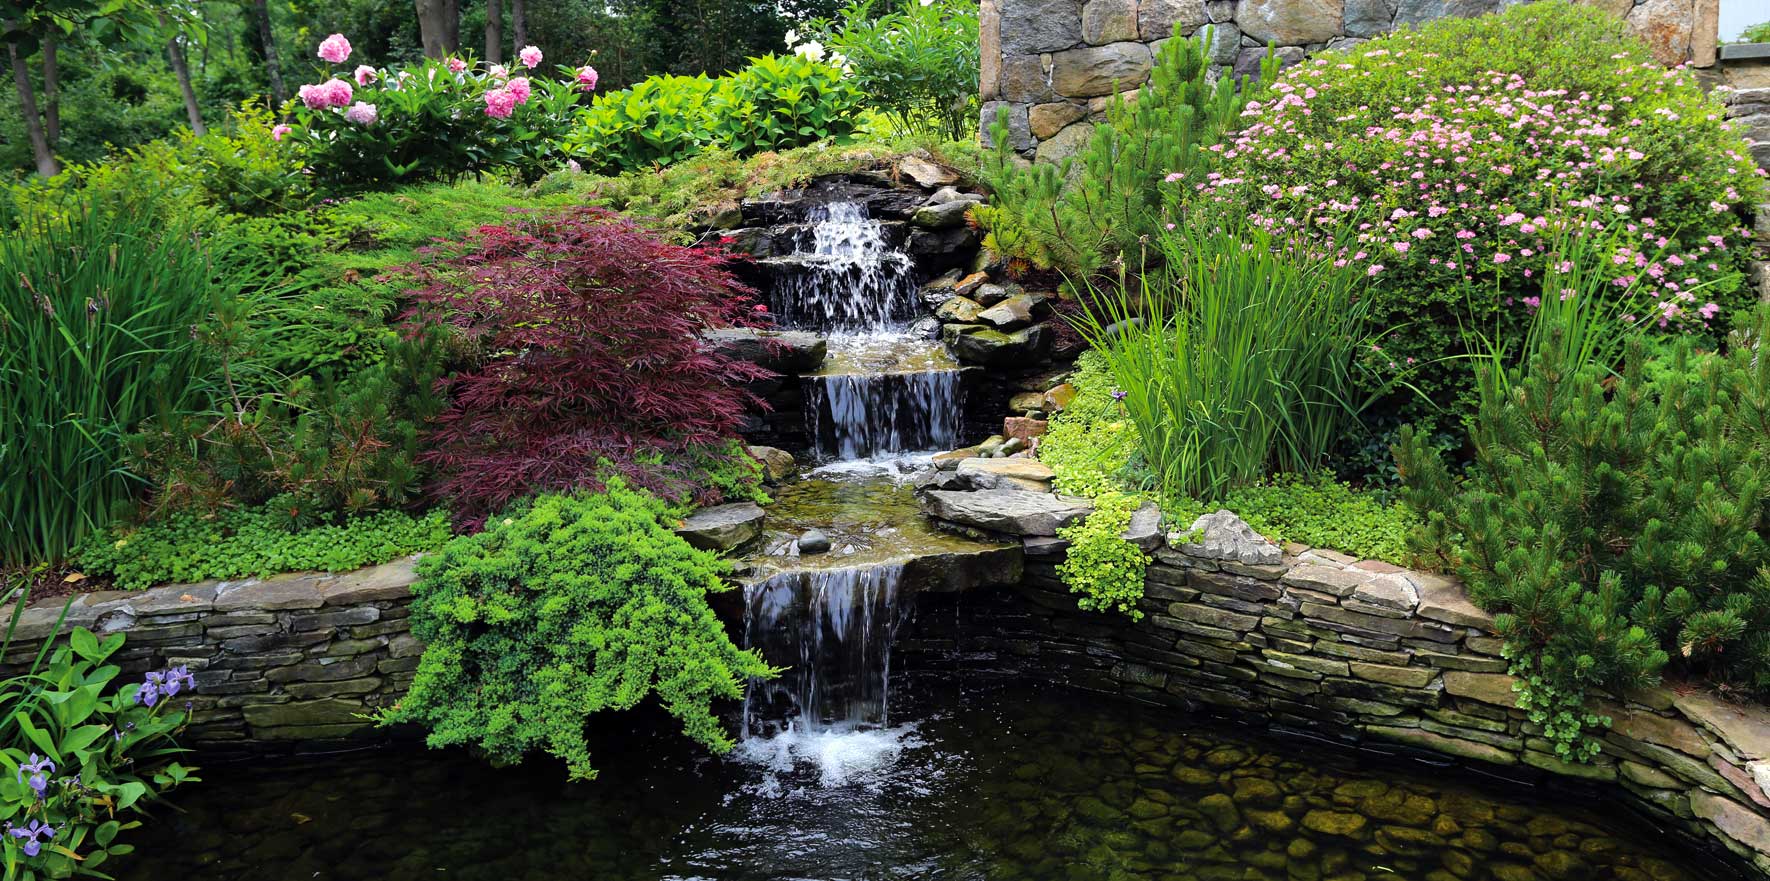
- Threadleaf Japanese Maple (Acer palmatum dissectum)
- Red Chokeberry (Aronia arbutifalia)
- Shagbark Hickory (Carya ovata)
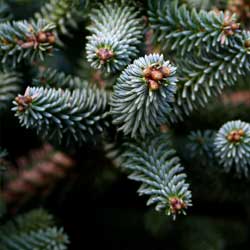
- Blue Atlas Cedar (Cedrus atlantica ‘Glauca’)
- Harry Lauder’s Walking Stick (Corylus avellana ‘Contorta’)
- Winter Dephne (Daphne odora)
- Common Snow Drops (Galanthus nivalis)
- Wintergreen (Gaultheria procumbens)
- Christmas Rose (Heleboris niger)
- Chinese witch-hazel (Hamamelis mollis)
- Winterberry Holly (Ilex verticillata) Need female and male plant for berries
- Christmas fern (Polystichun acrostichoides)
- Common Camellia (Camellia japonica)
- Heathers/Heaths
Not sure which plants will offer the beauty you want to see all winter long? Our experts are always happy to help you plan the best landscape design for all four seasons, so come in and share your ideas today and we’ll help you be prepared for an amazing winter landscape.